vending machine API
Background
Every year Treehacks organizers make different builds to highlight our skills and to make every year’s hackathon unique. This year I wanted to work on
Acquisition
How much do you think a vending machine costs?
One would expect maybe thousand or two for a new one. So looking on Facebook marketplace I was expecting a vending machine for 800$, maybe 600$ if I was lucky.
Somehow I found a vending machine in San Jose for only 300$, which seemed like an absolute steal.
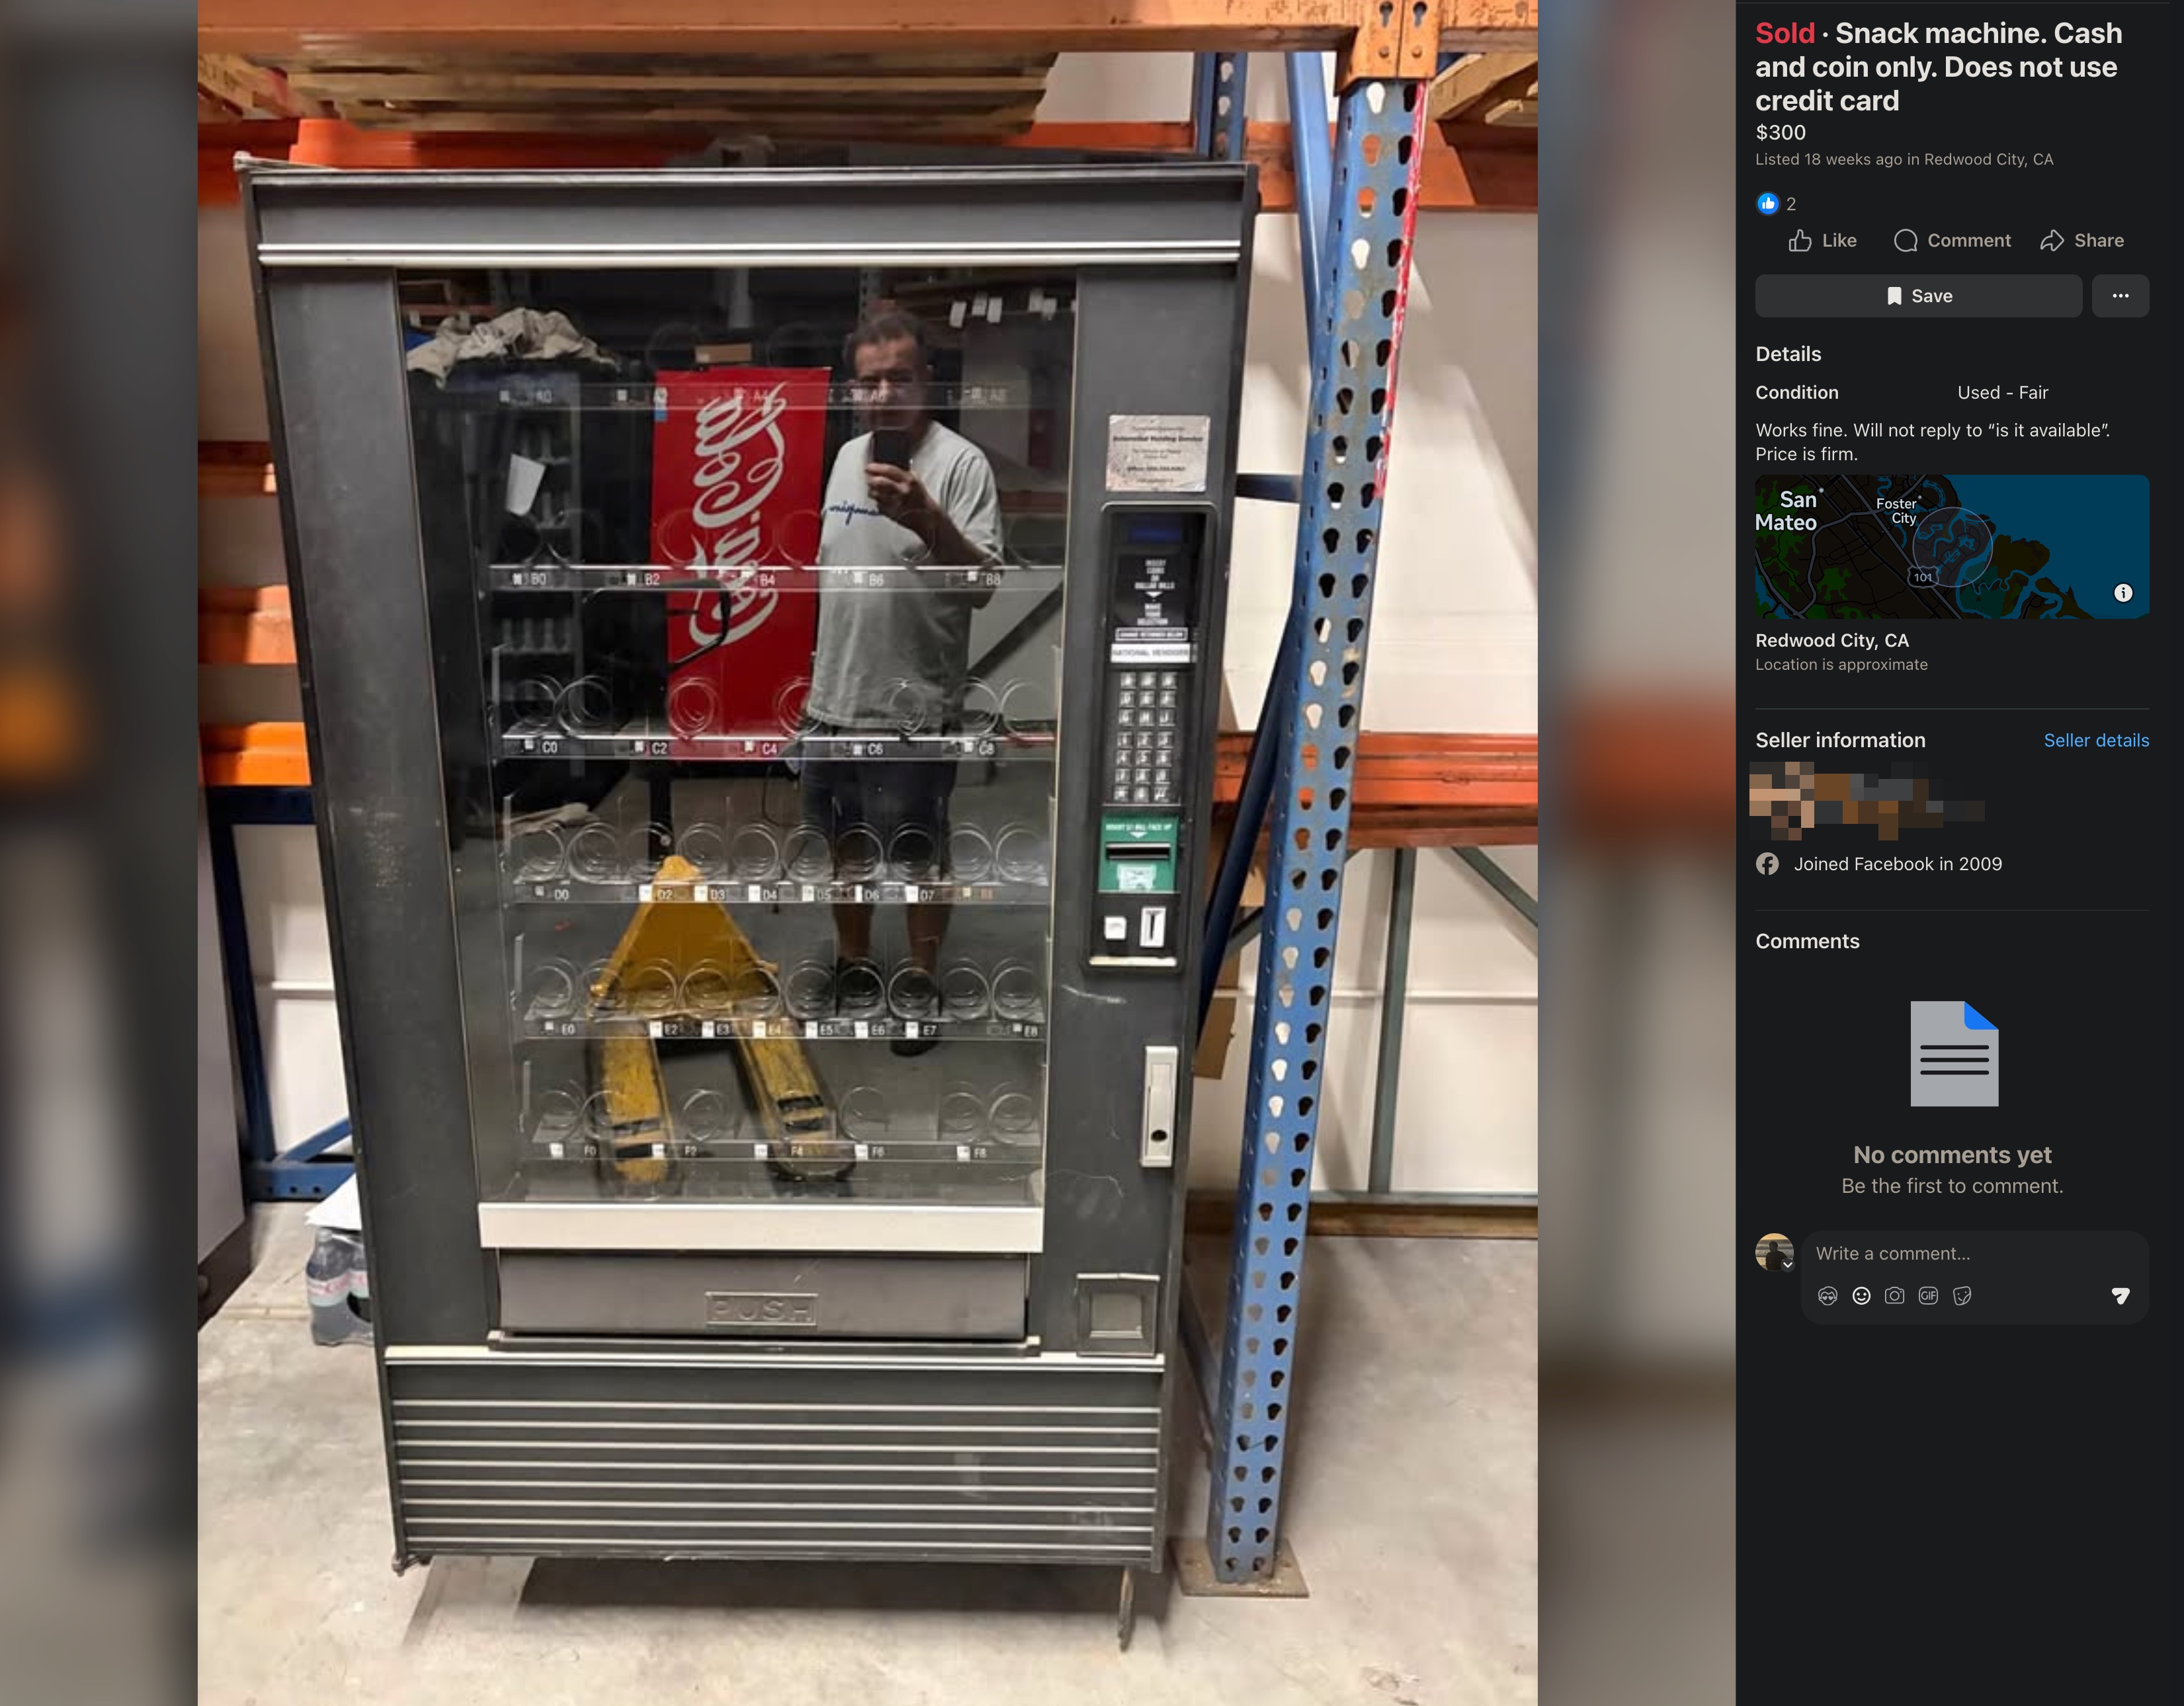
Reaching out to the seller, I had to beg for an invoice as Stanford required proof of purchase for me to get this reimbursed.
Then I took my 300$ cash out of the ATM and ubered to my U-Haul bright and early at 7AM.
This was only the start of the challenge though.
I learned quite a few things that day:
first off
- vending machines are very heavy,\
- you can extend u-hauls till the end of the day for free.\
- 1,000 pounds is a lot more pounds than you think 1000 pounds is,\
- and vending machines are very heavy.
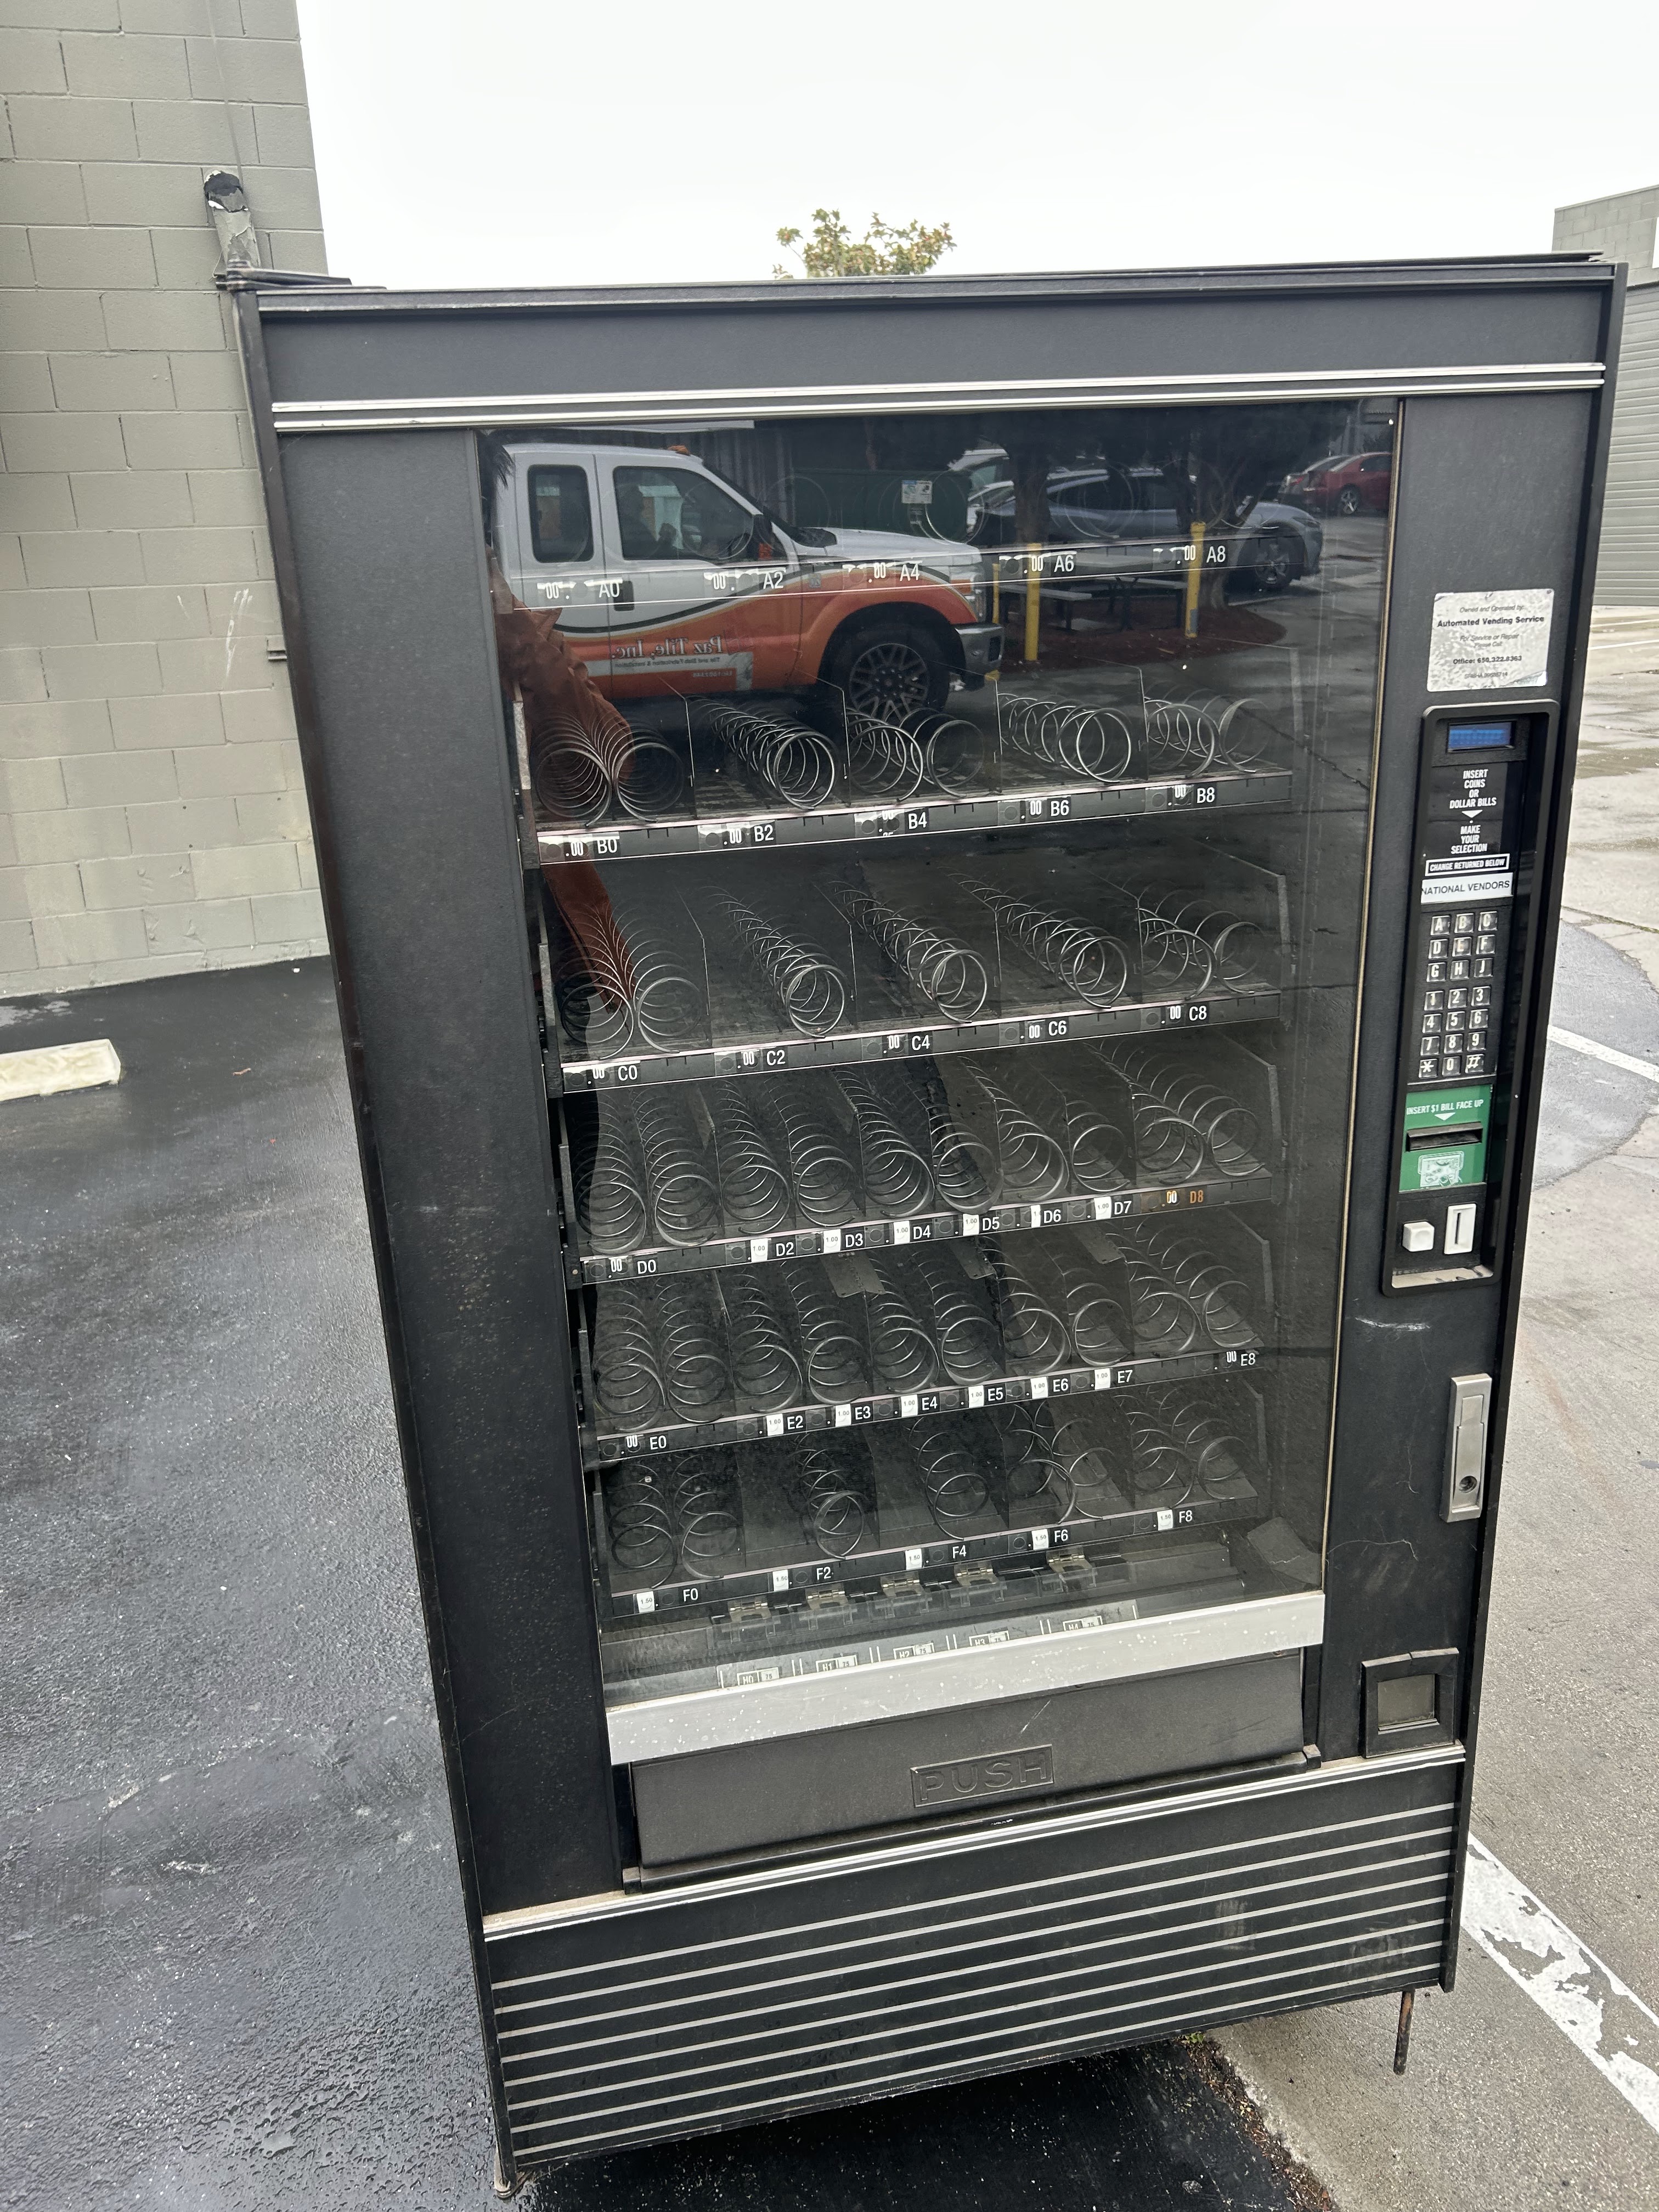
Lacking a forklift or pallet jack, turns out moving a vending machine was very very difficult.
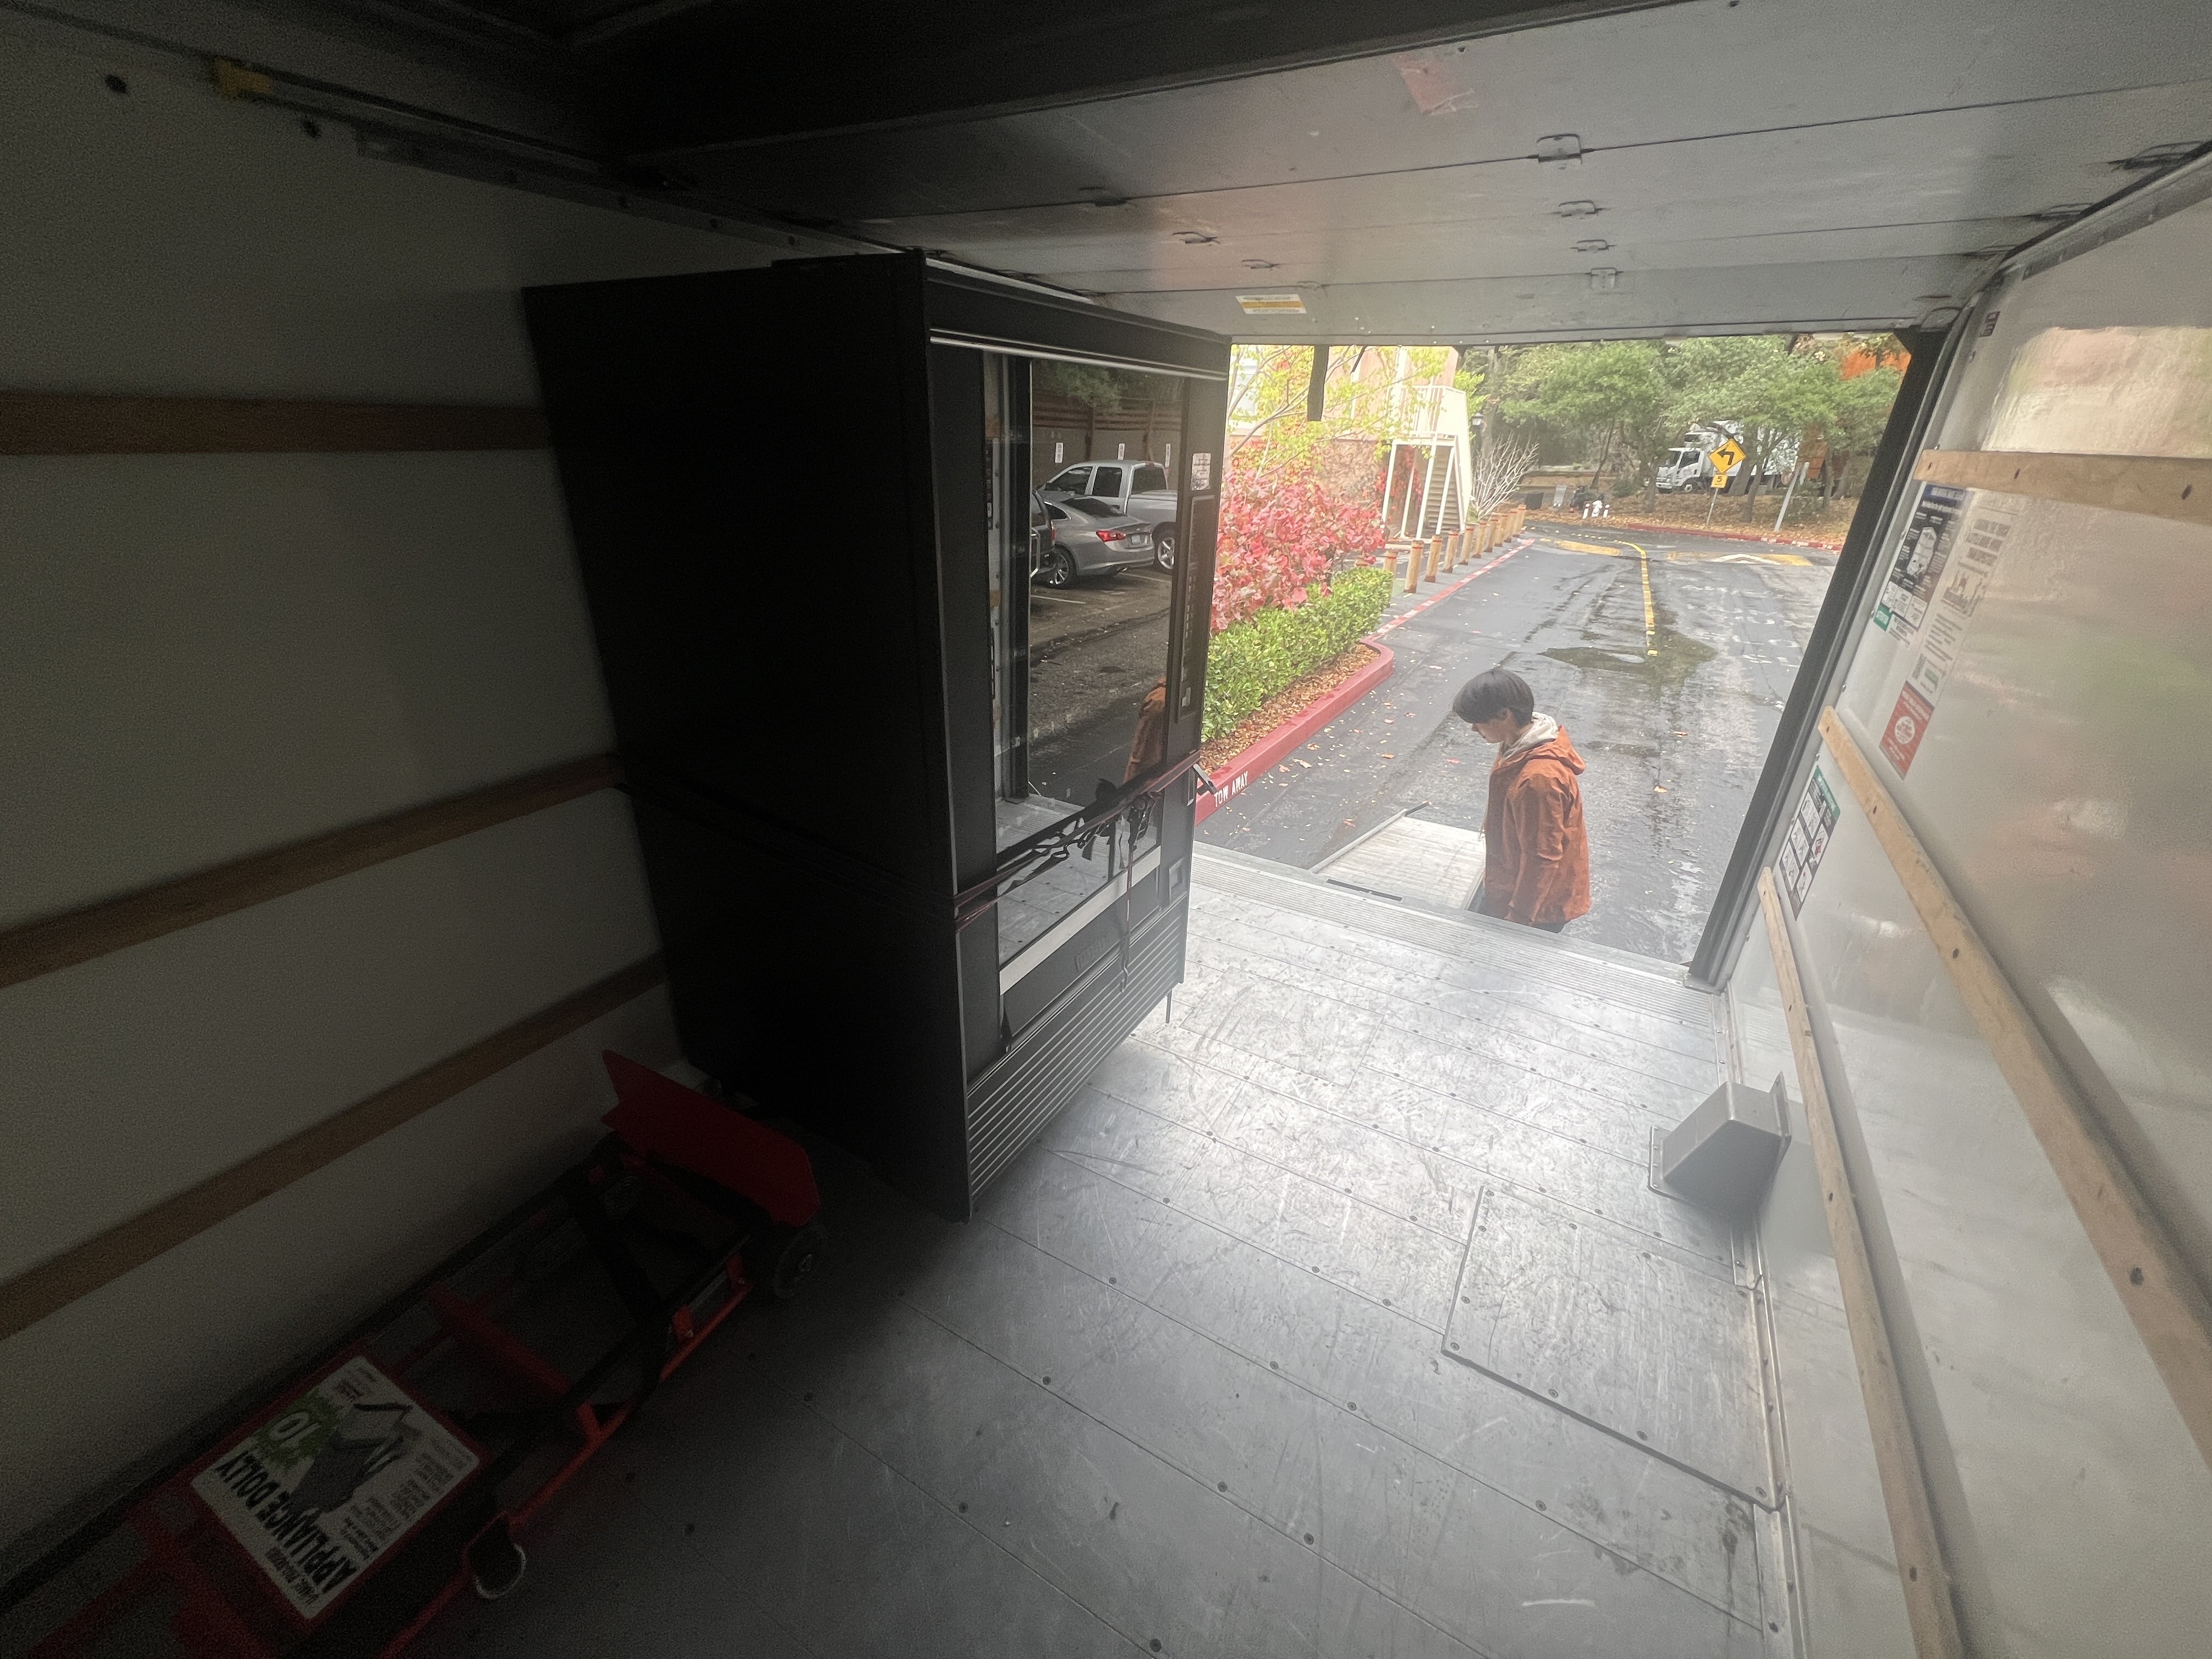
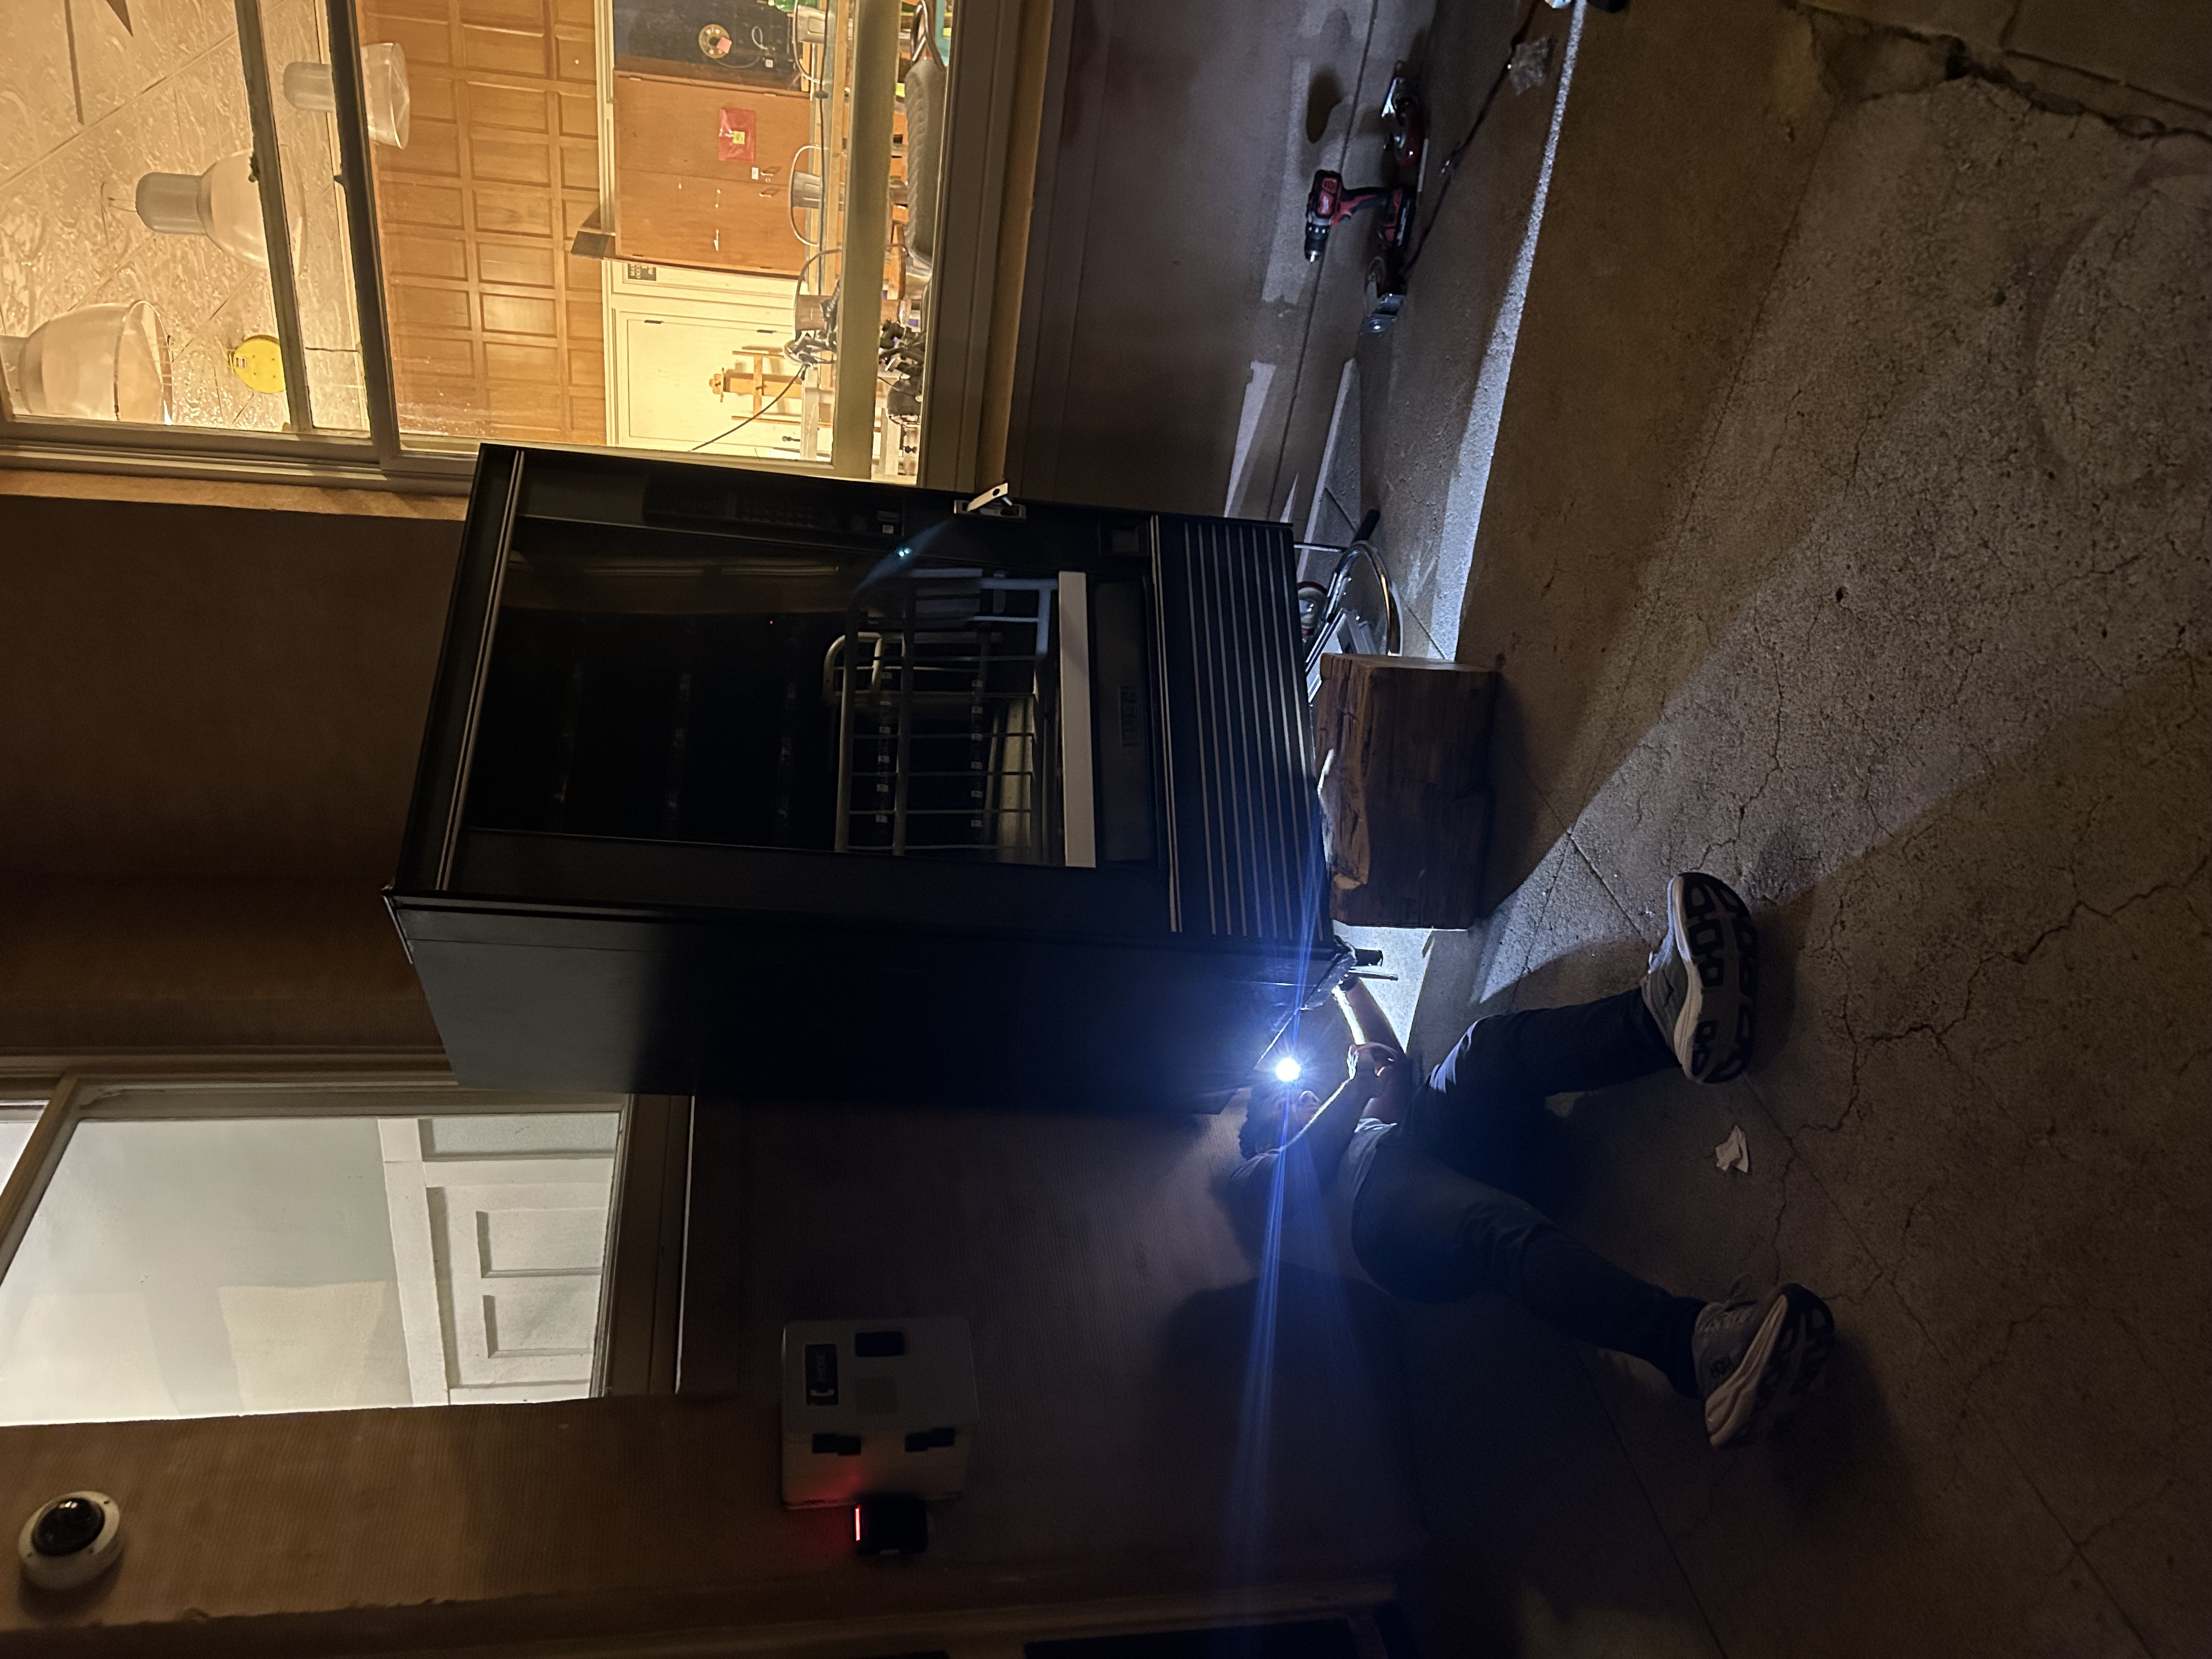
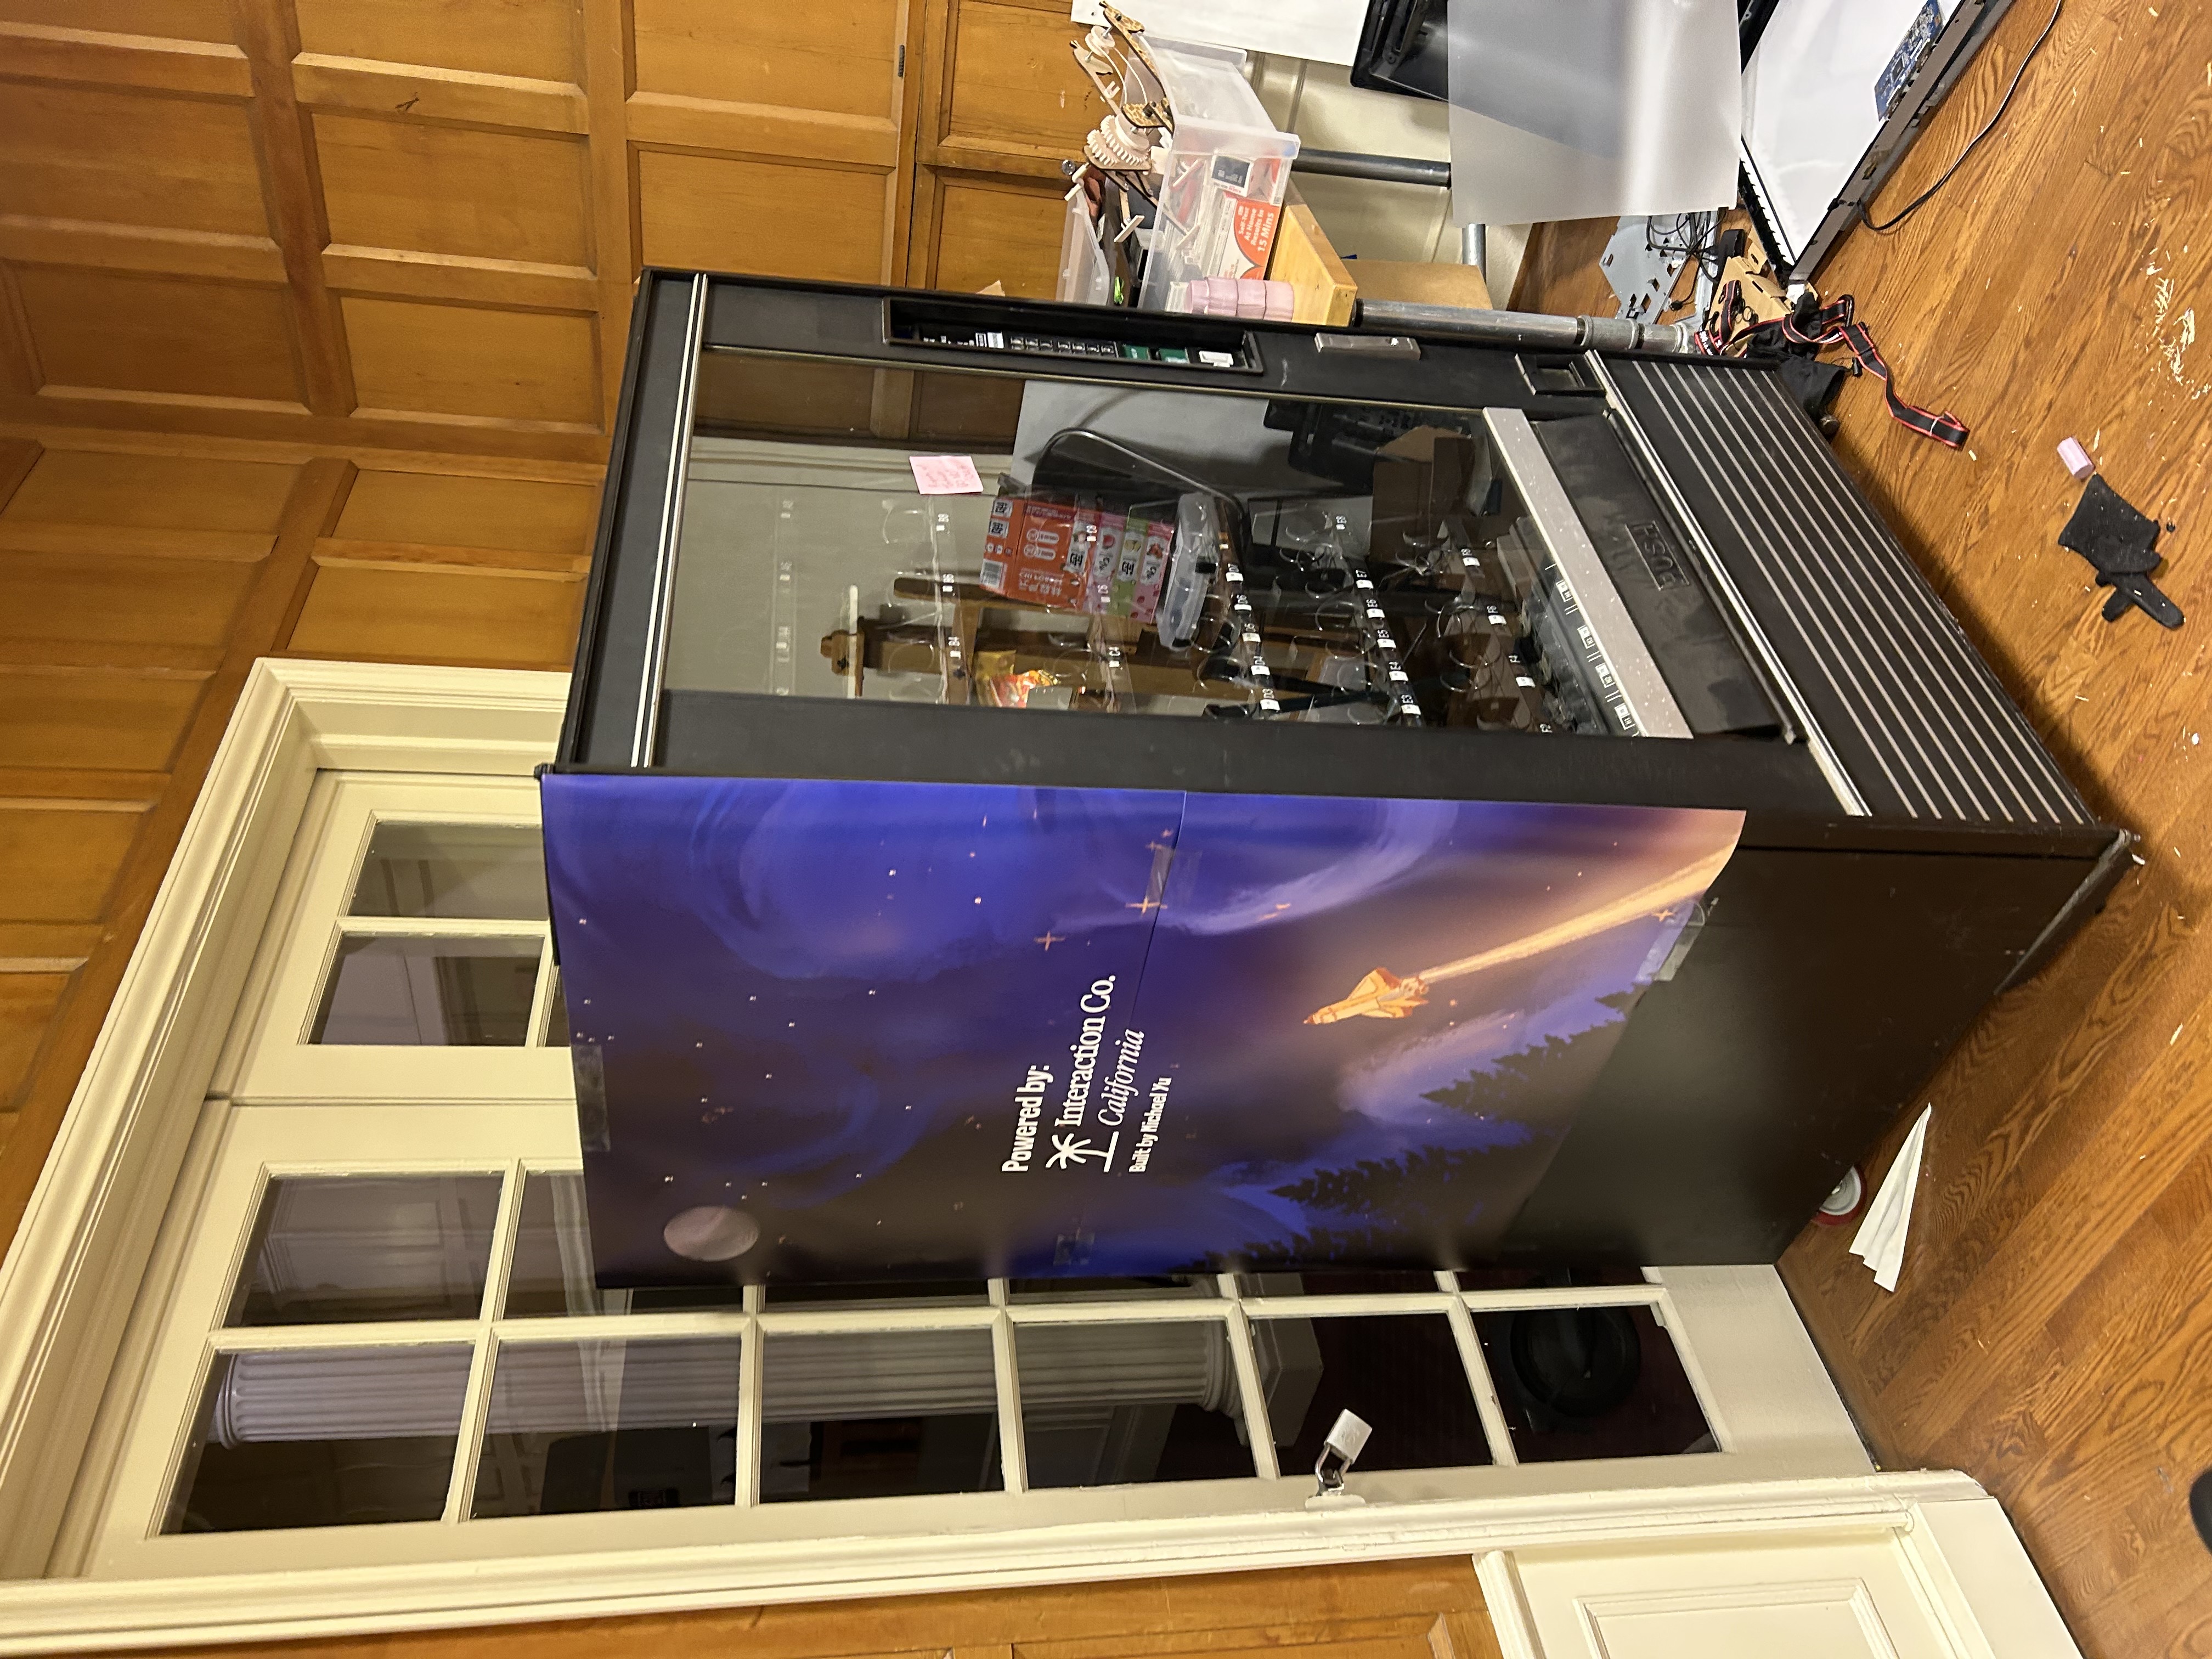
After with a few small hiccups with moving the vending machine out of the U-Haul and installing wheels, it was ready to be hacked!

Development
Once I had the vending machine inside, I could start analyzing the circuit board.

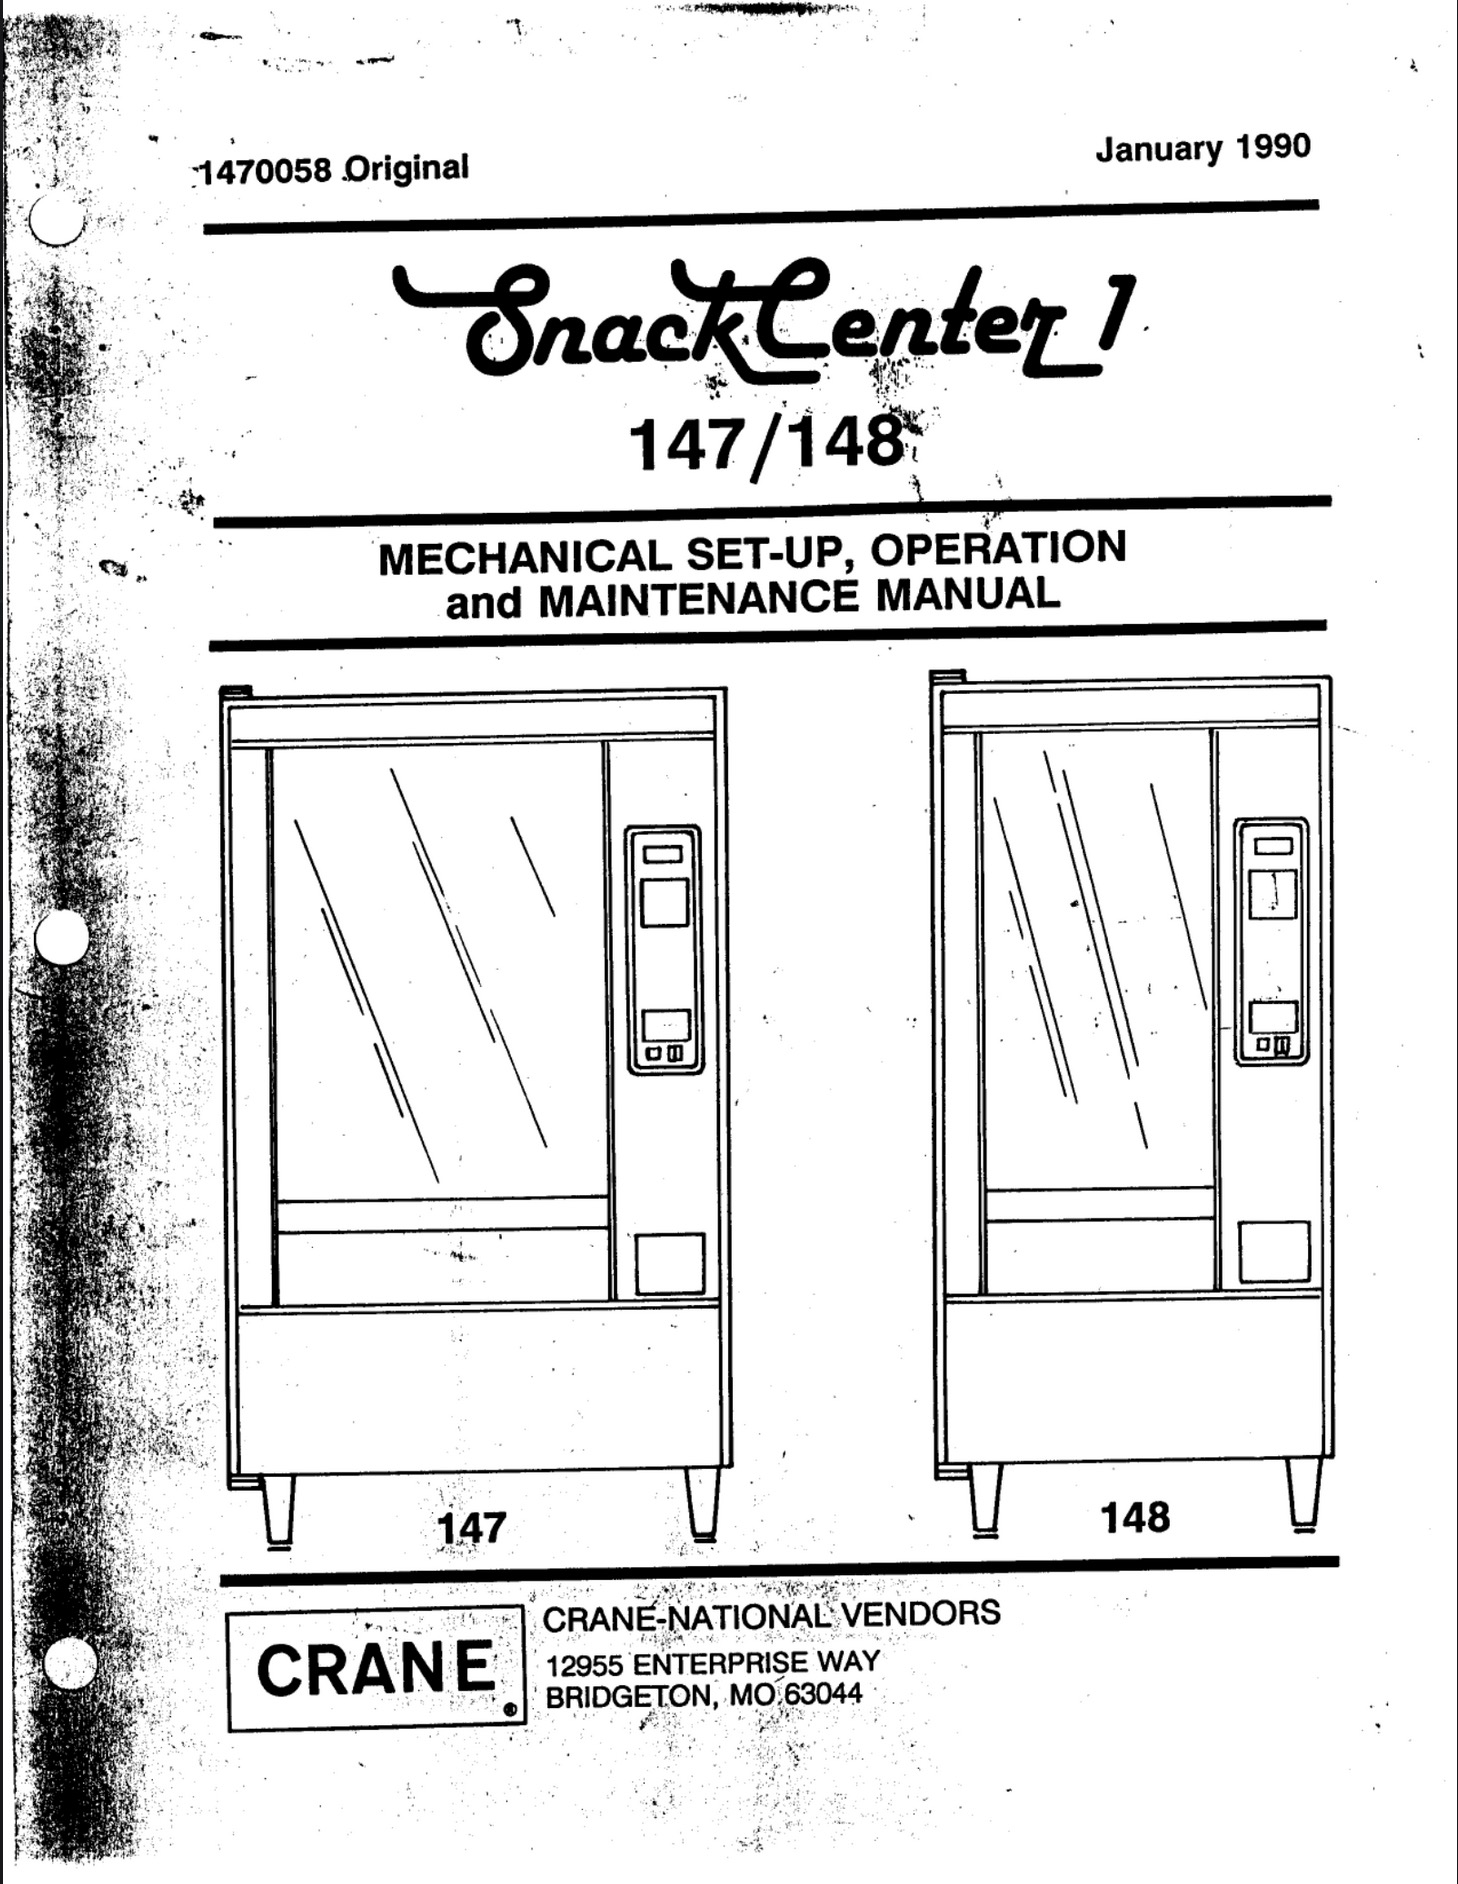
Through my research online, I wasn’t able to find any schematics, probably because it is a vending machine from the 90s. Back to the drawing board!
I realized that there was a simple solution staring me in the eyes. I could just emulate the keypad so that I can put whatever input I want into the vending machine.
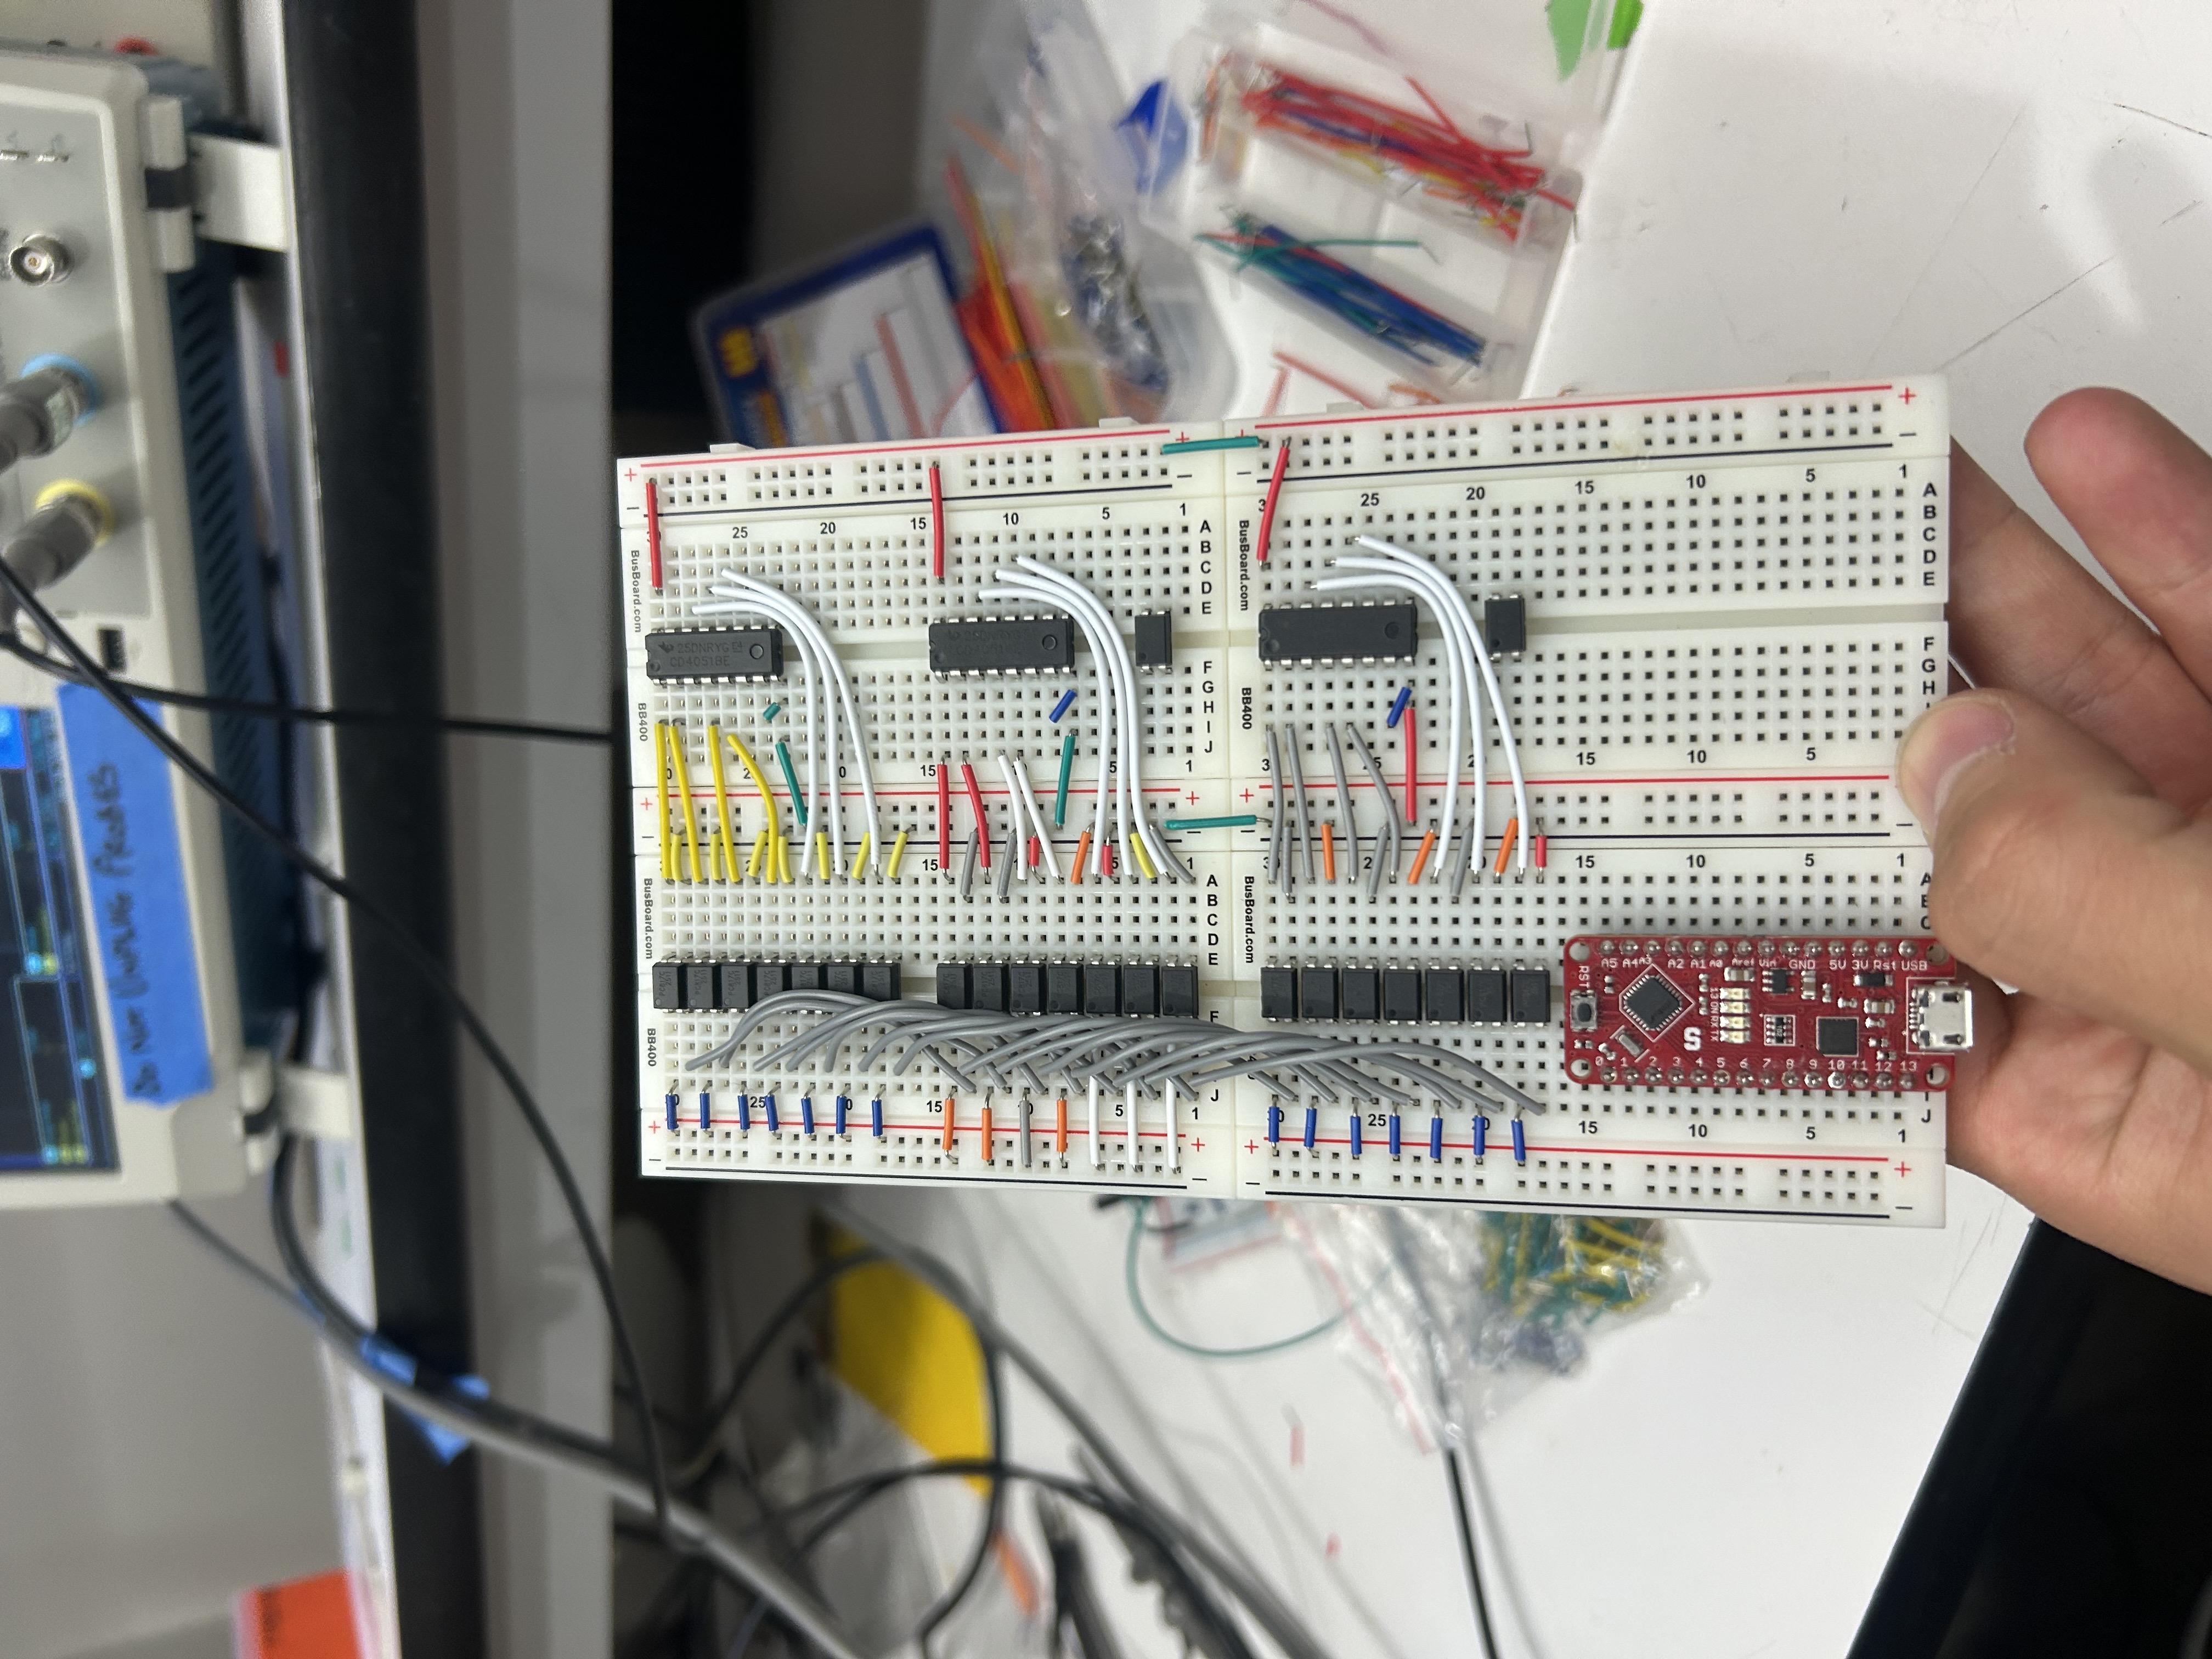
The keyboard was just a simple 3x7 multiplexer with 3 rows with 7 cols. So in theory I could just bridge pins together to emulate the button presses.
By doing some continuity testing with some alligator clips, I was able to figure out the pinout of the keypad.

There still was one issue, how could I trick the machine into thinking I paid?
There was another fairly simple solution, I could do a similar multiplexer emulation on the admin control panel to emulate the machine going into test mode.
With a quick purchase on amazon, I had multiplexers to test with!
So to test I built a fairly simple circuit with an Arduino Nano and 3 multiplexers for the 3 different columns.
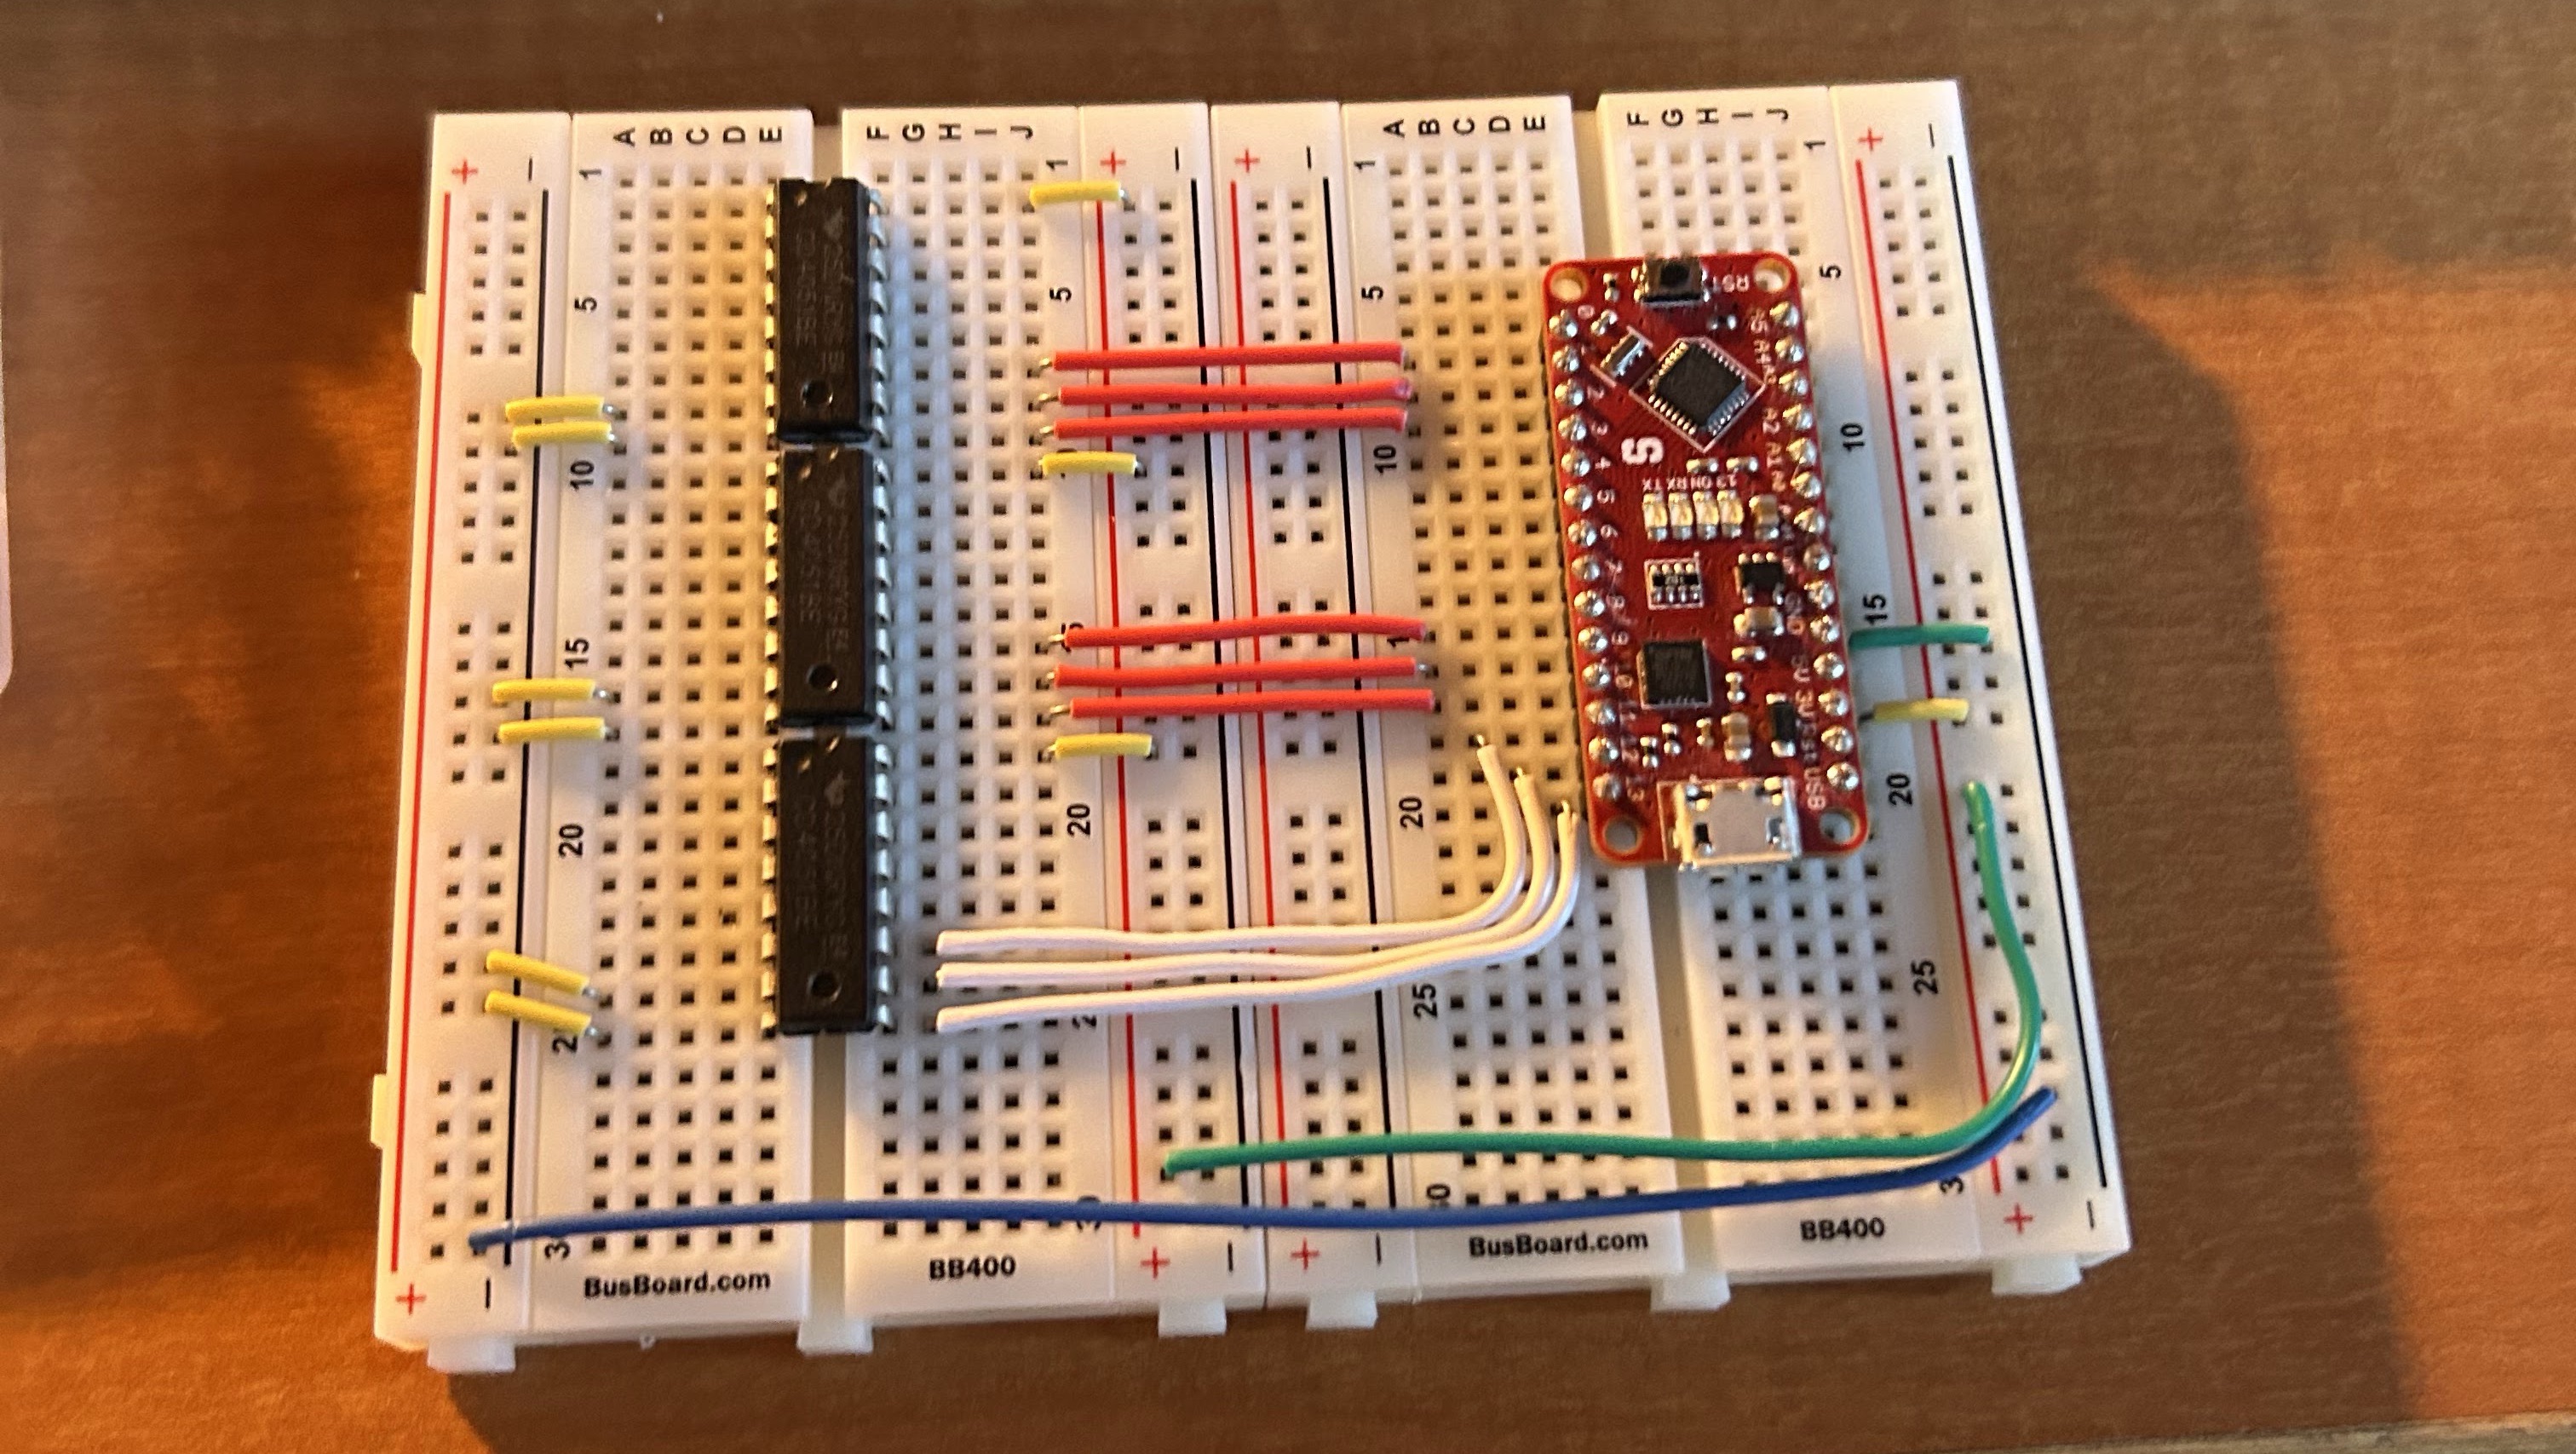
Immediately, when testing, there was a clear issue.
All the buttons would press when plugging into the multiplexer, which is obviously not good. In addition, the screen would seem to be displaying all the characters at the same time, which seems like another symptom of bridging all the pins together.
Through a lot, and I mean a lot of testing with my trusty Fluke.
I couldn’t precisely pin down an exact reason for the multiplexer not working, but my leading theory was that we weren’t able to share the grounding pin of the vending machine with the Arduino, which meant that the pins were being pulled “low” or “high” since ground wasn’t properly shared.
Even with connecting several pins from the vending machine that appeared to be ground, the multiplexer still wouldn’t behave.
Back to the drawing board again!
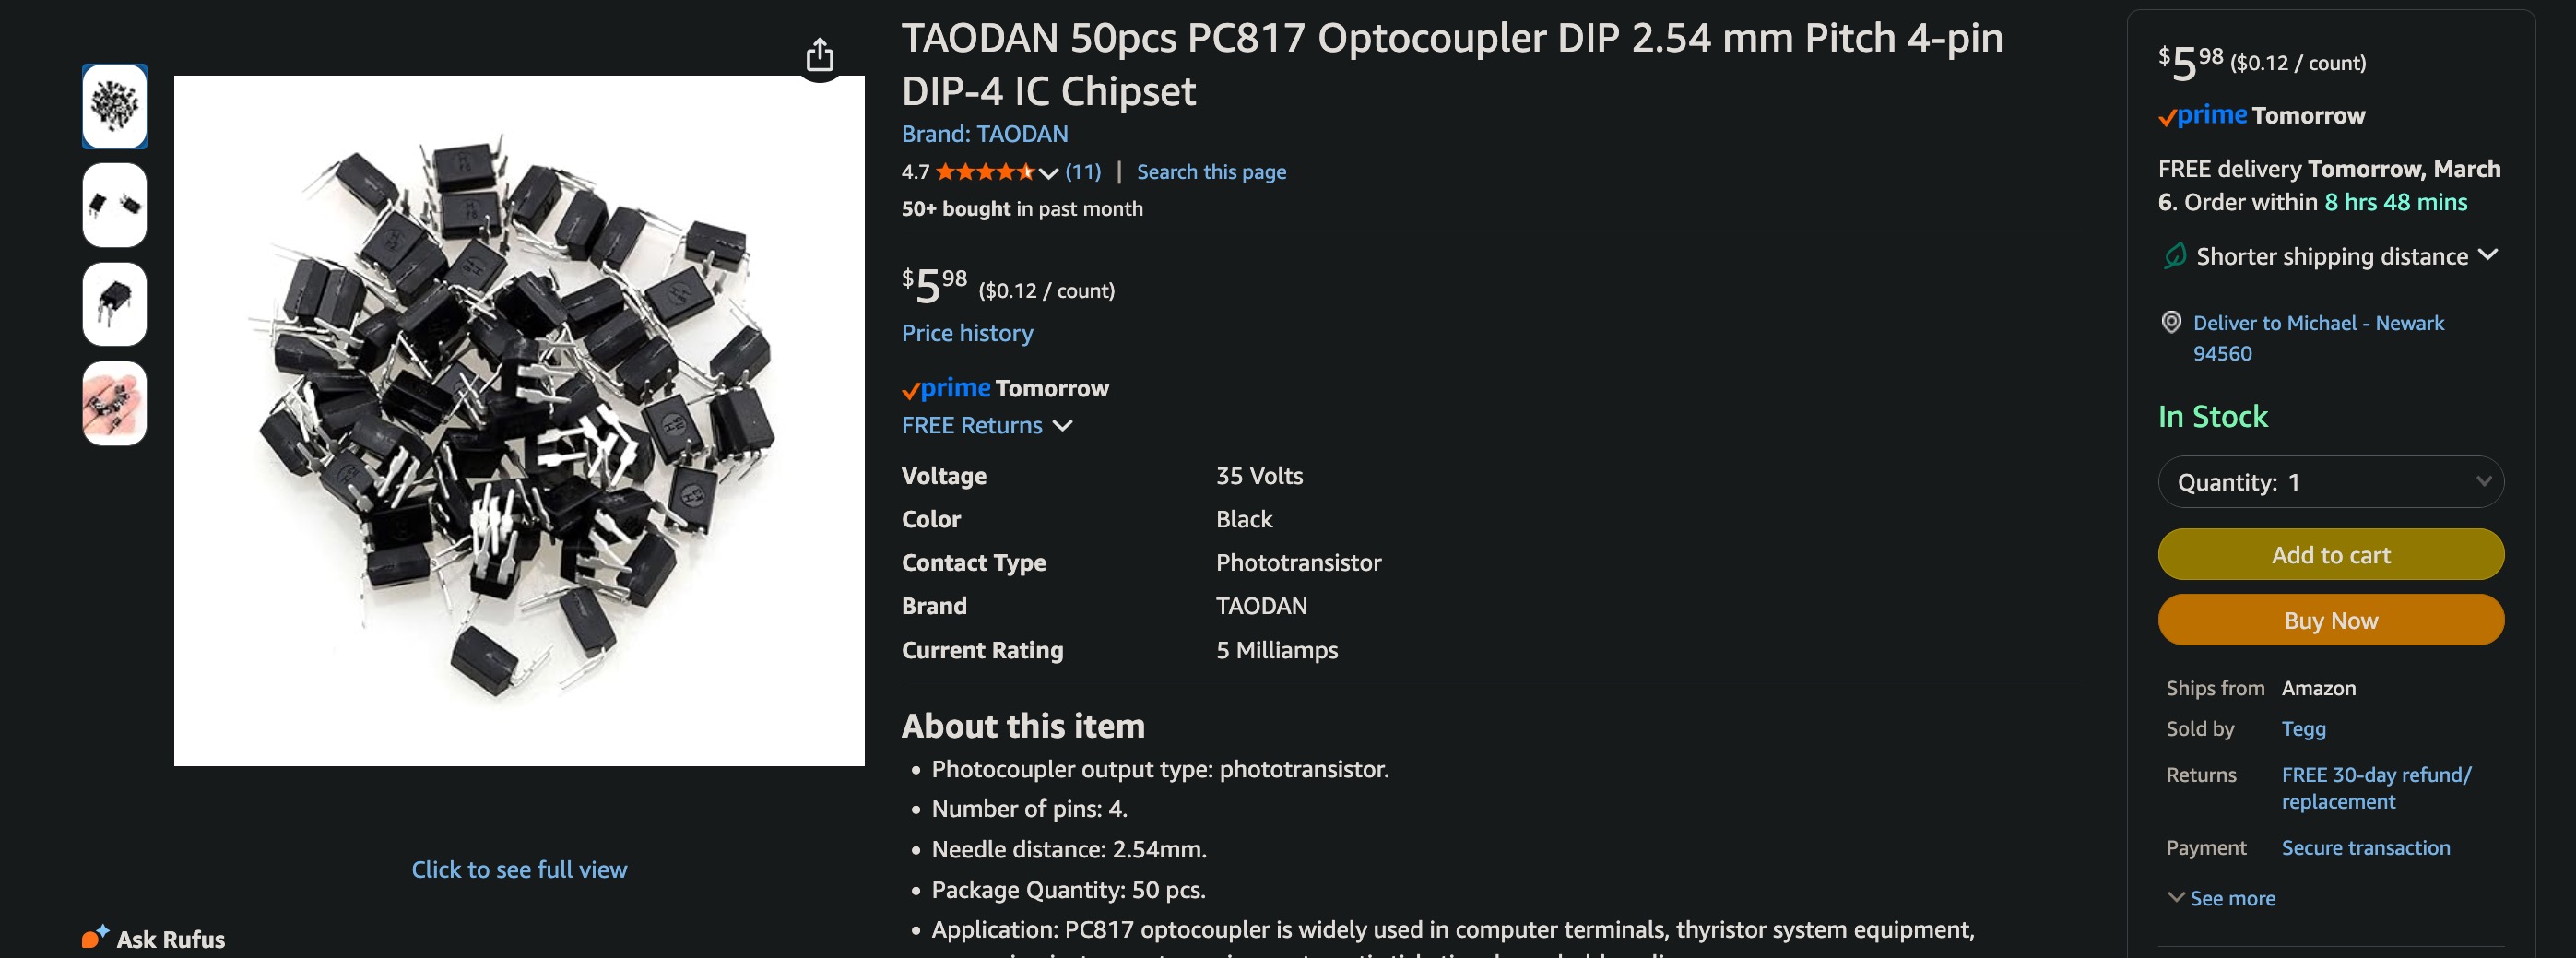
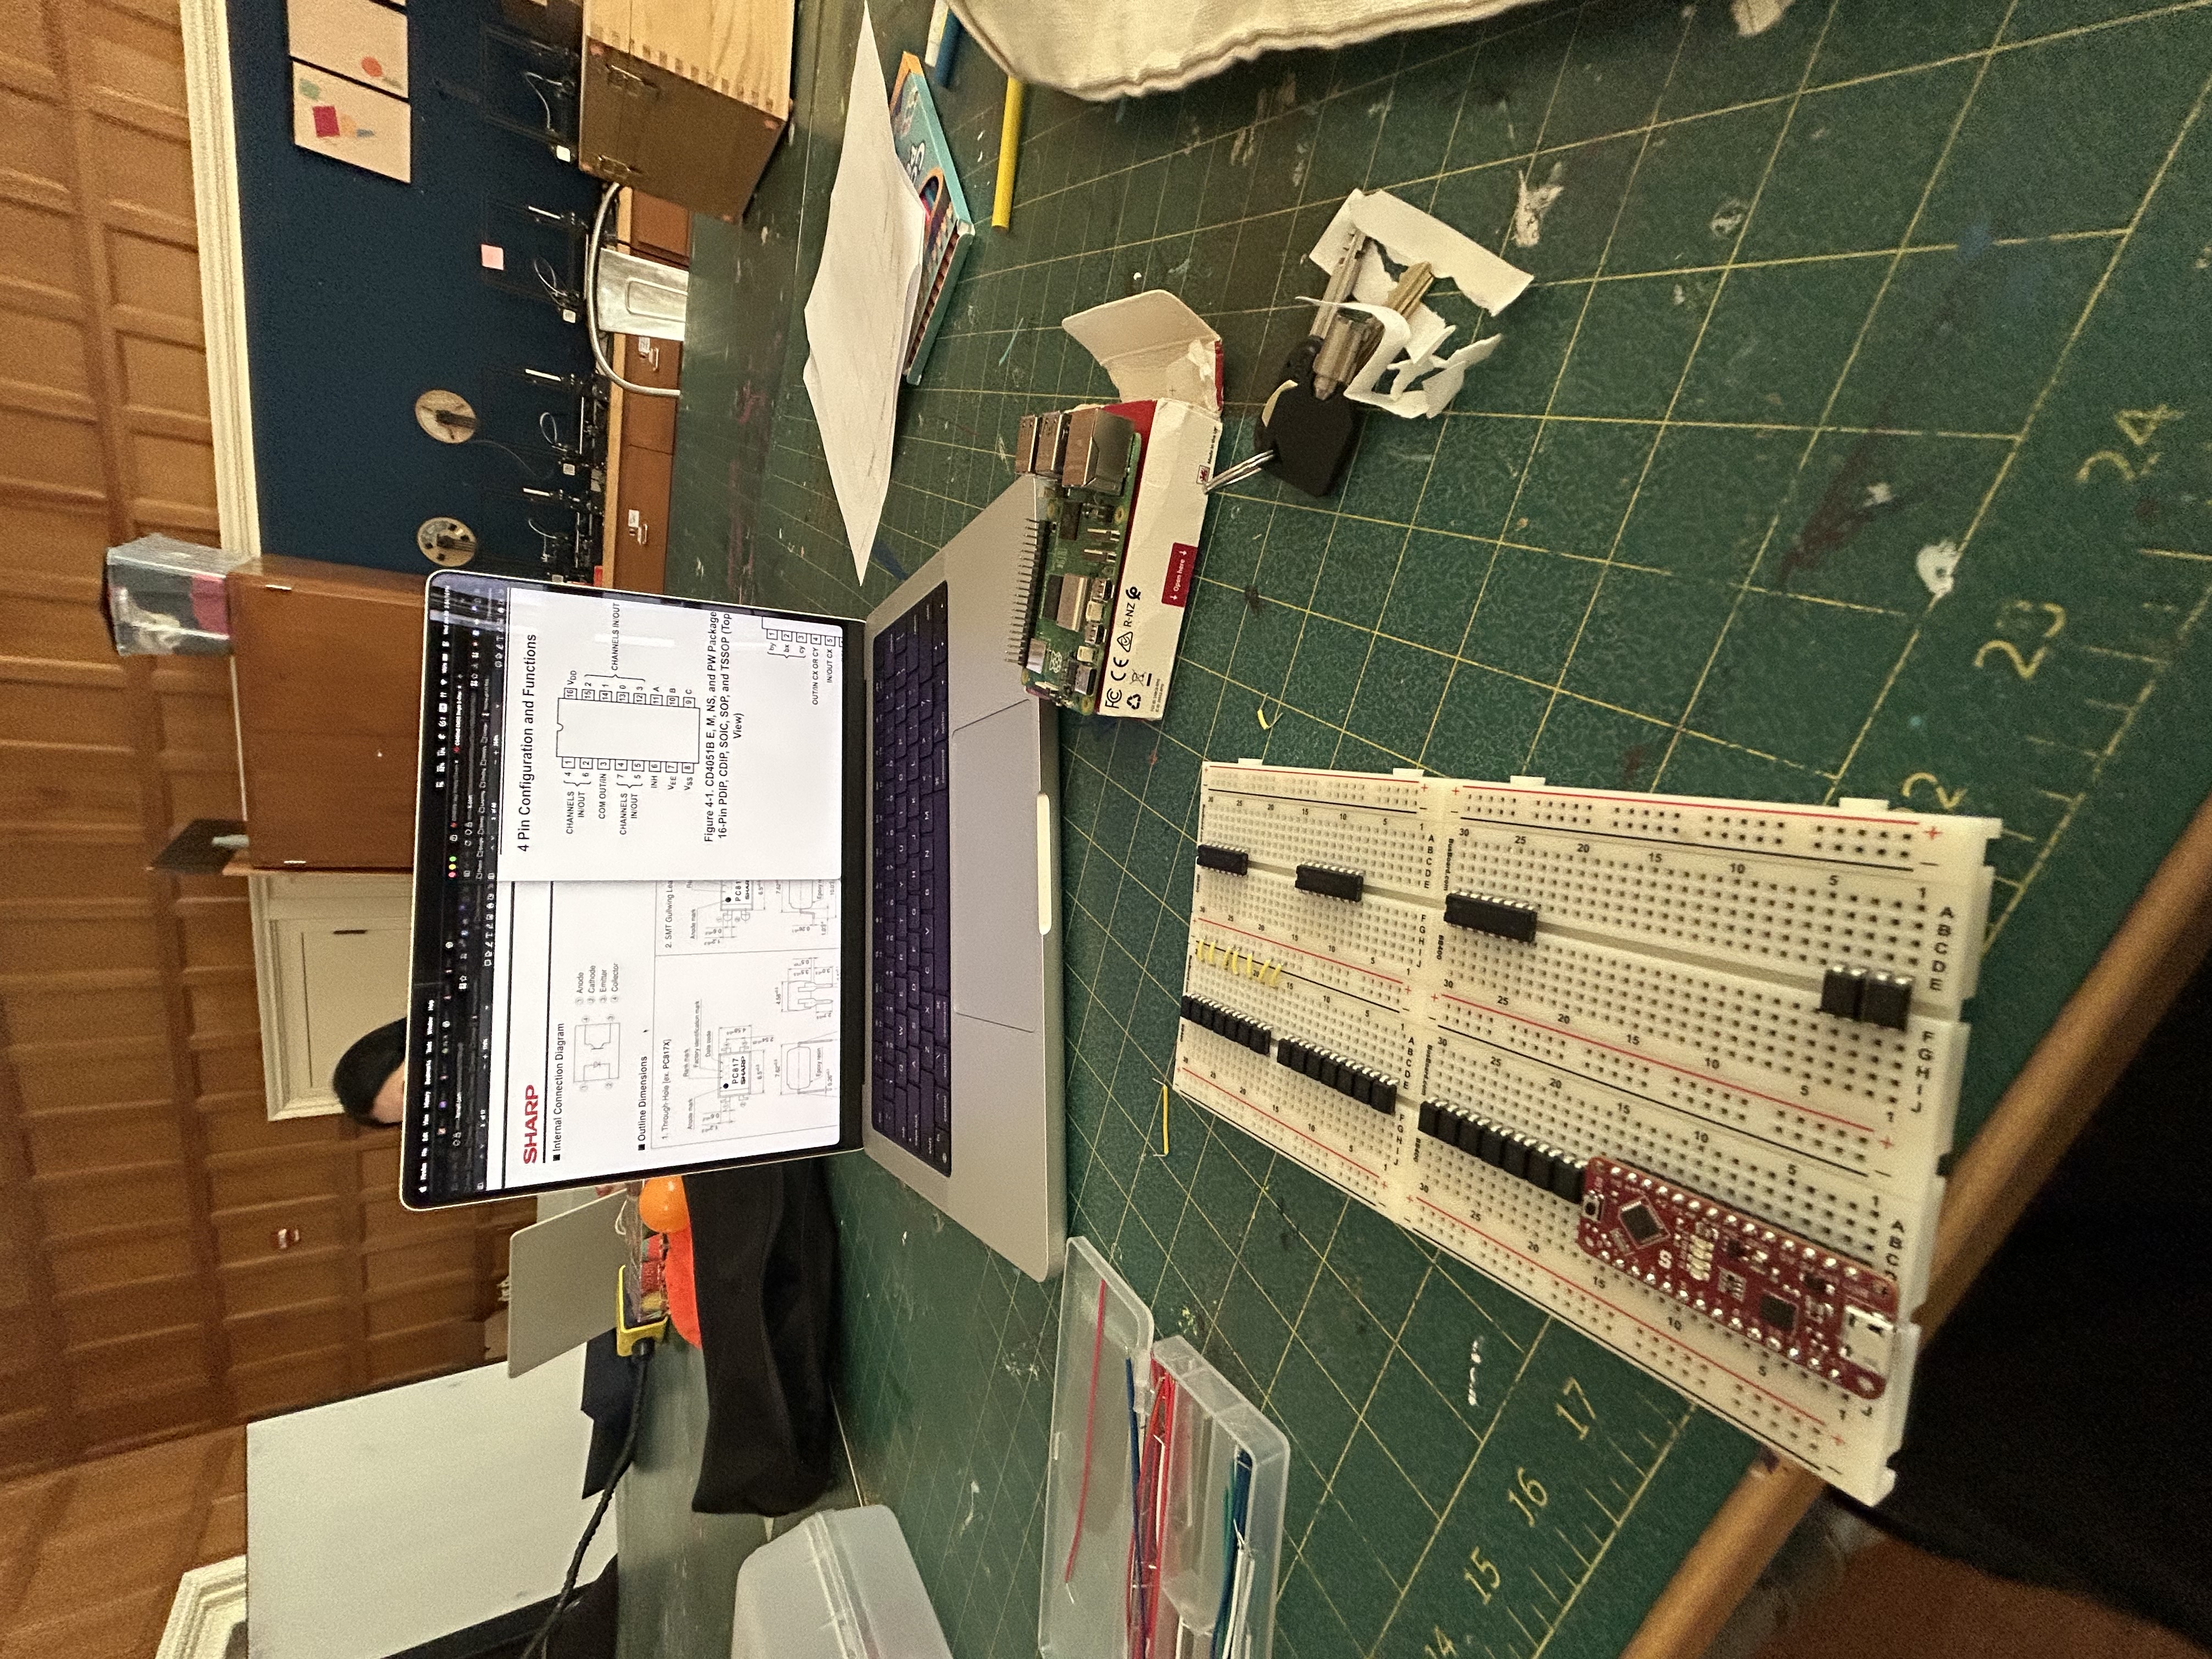
After doing some research, I learned about these cool parts called octocouplers, which are similar to transistors except the anode and the cathode are electrically isolated from the collector and the emitter.
This seemed like exactly what I needed! Since now, we can leave the pins floating instead of being pulled “low” or “high” since ground isn’t properly shared.
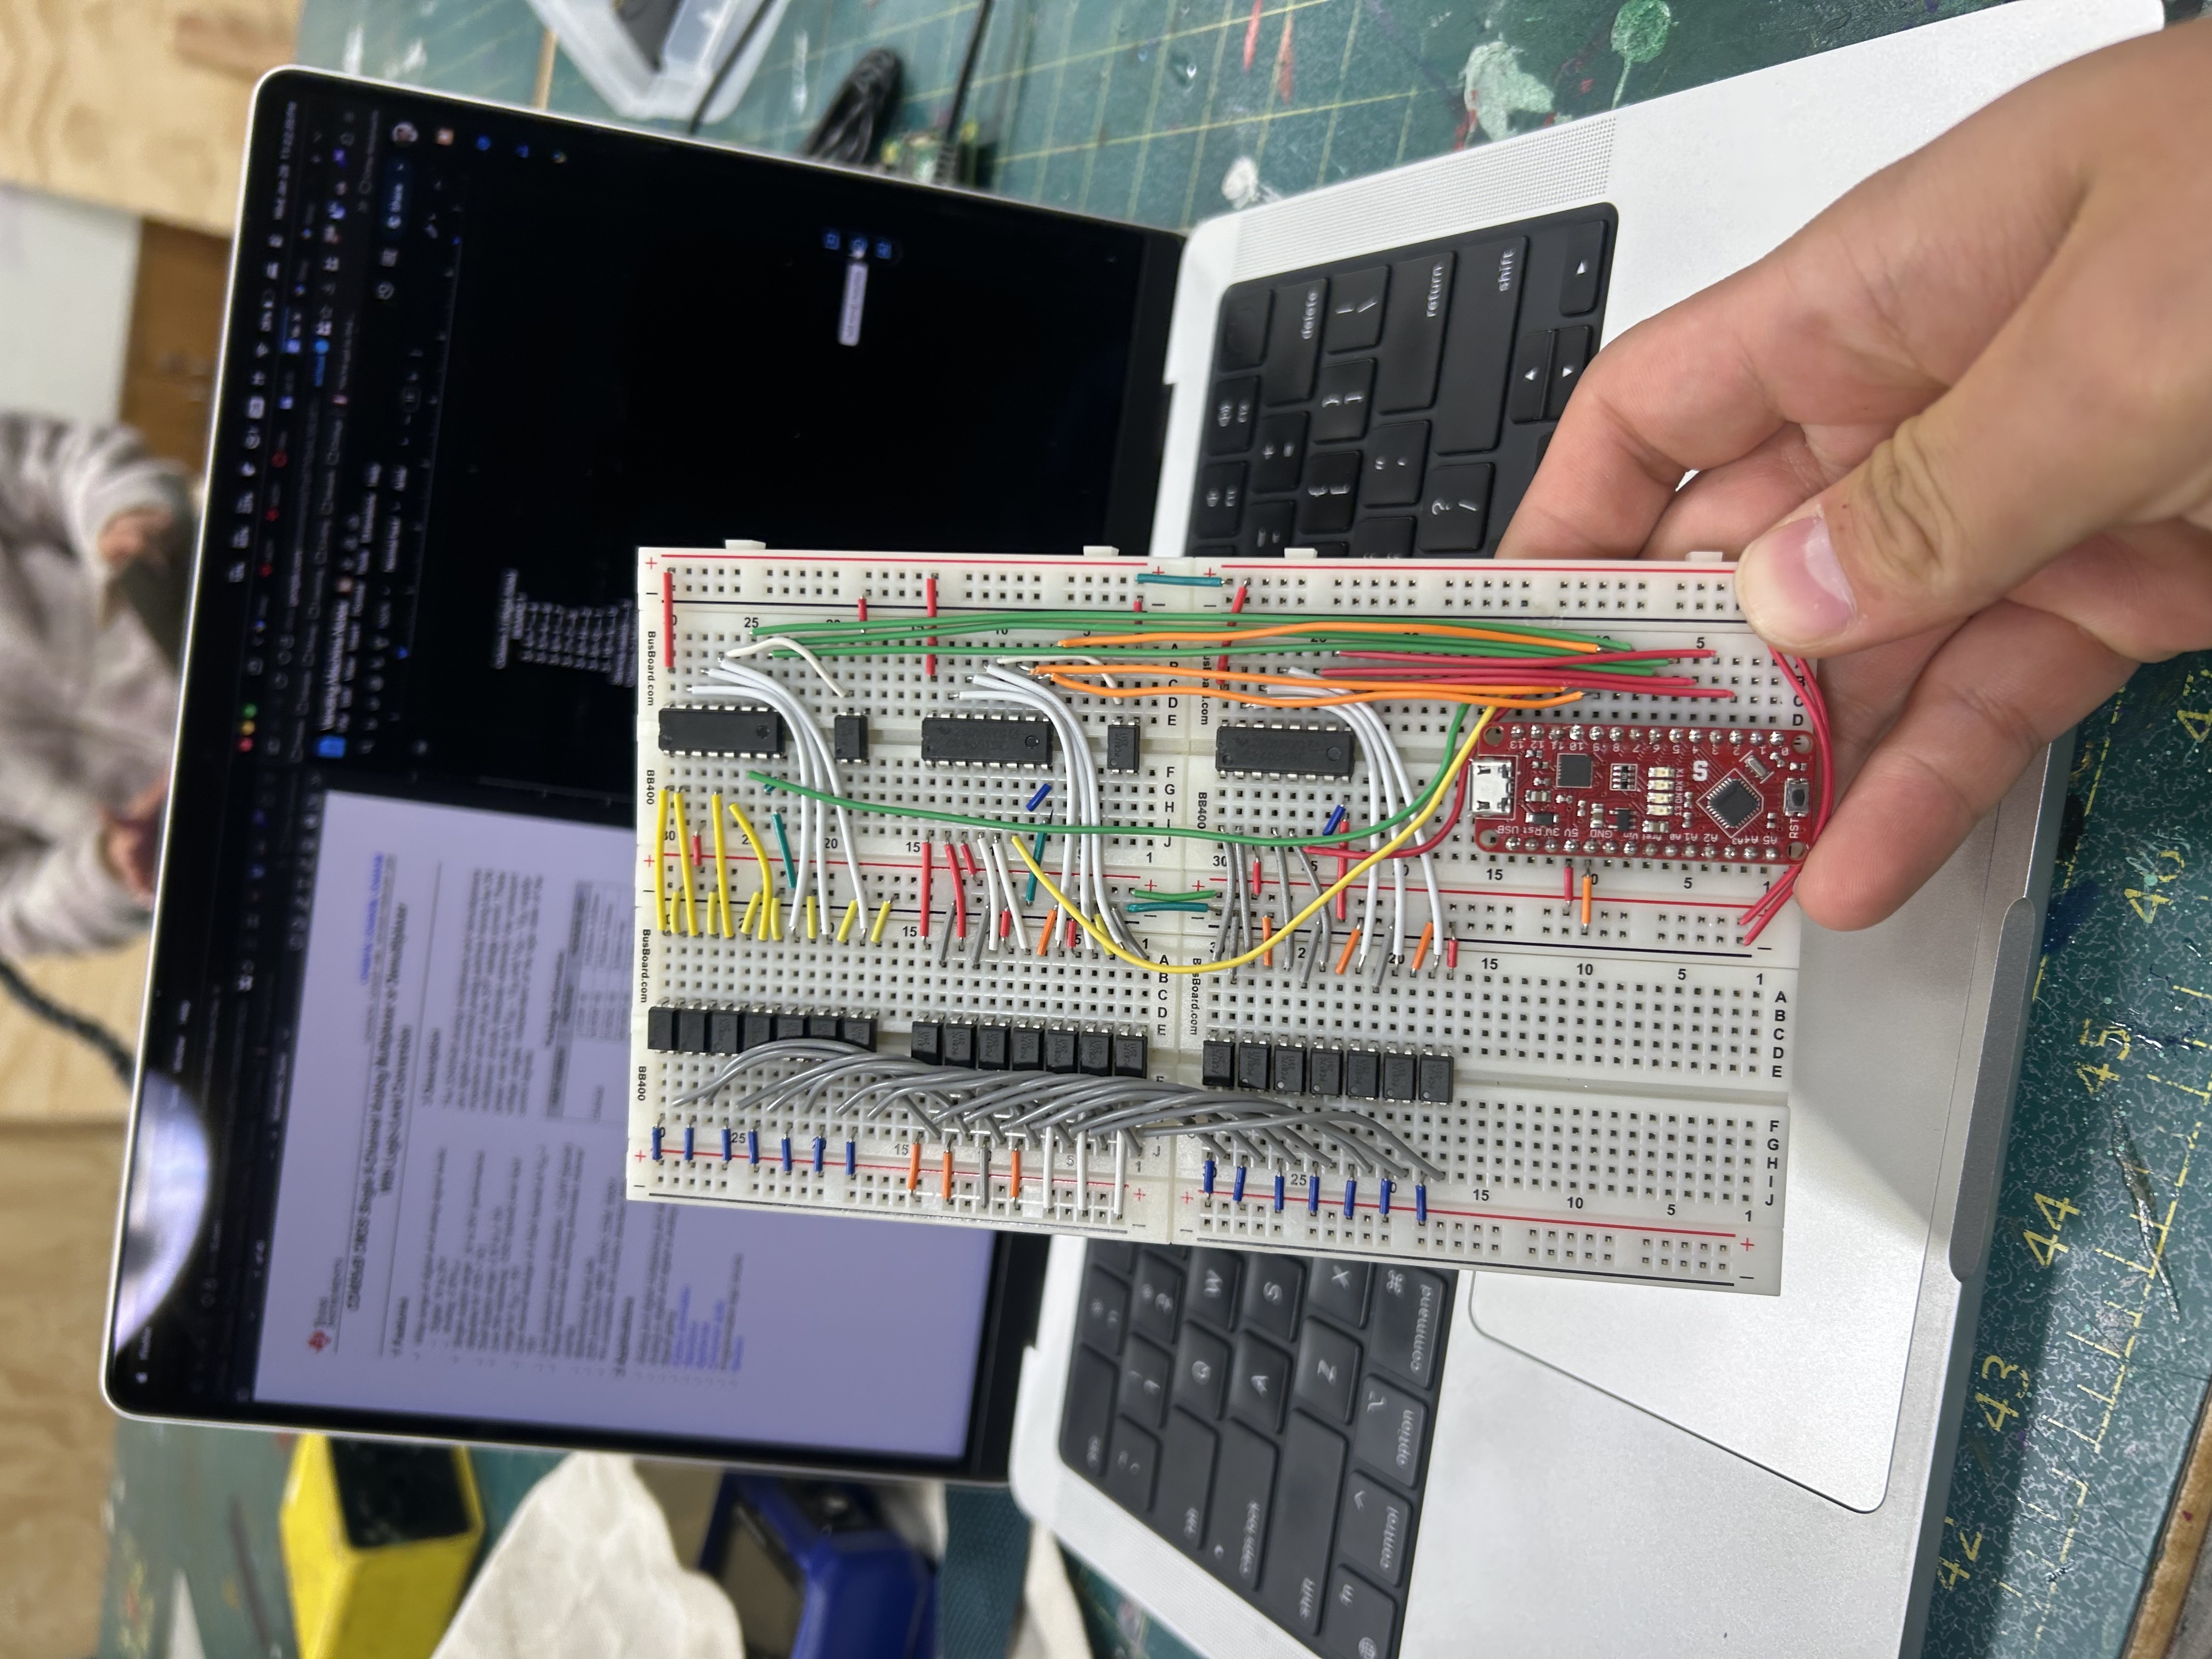
Using the existing octocouplers I had, we could make a simple circuit connecting the outputs of the multiplexers to the octocouplers and the shared column pins from the vending machine together on the octocouplers.
Then I just wired the multiplexers up to the Arduino.
After testing, this seemed to have the same issue as before. But after some further testing, it seems that I had forgotten some key details about how octocouplers work. I later realized that the anode/cathode side of an octocoupler is basically an LED circuit and therefore requires a resistor in series.
Soooo, a few octocouplers might have been fried in this process.
Back to rewiring!
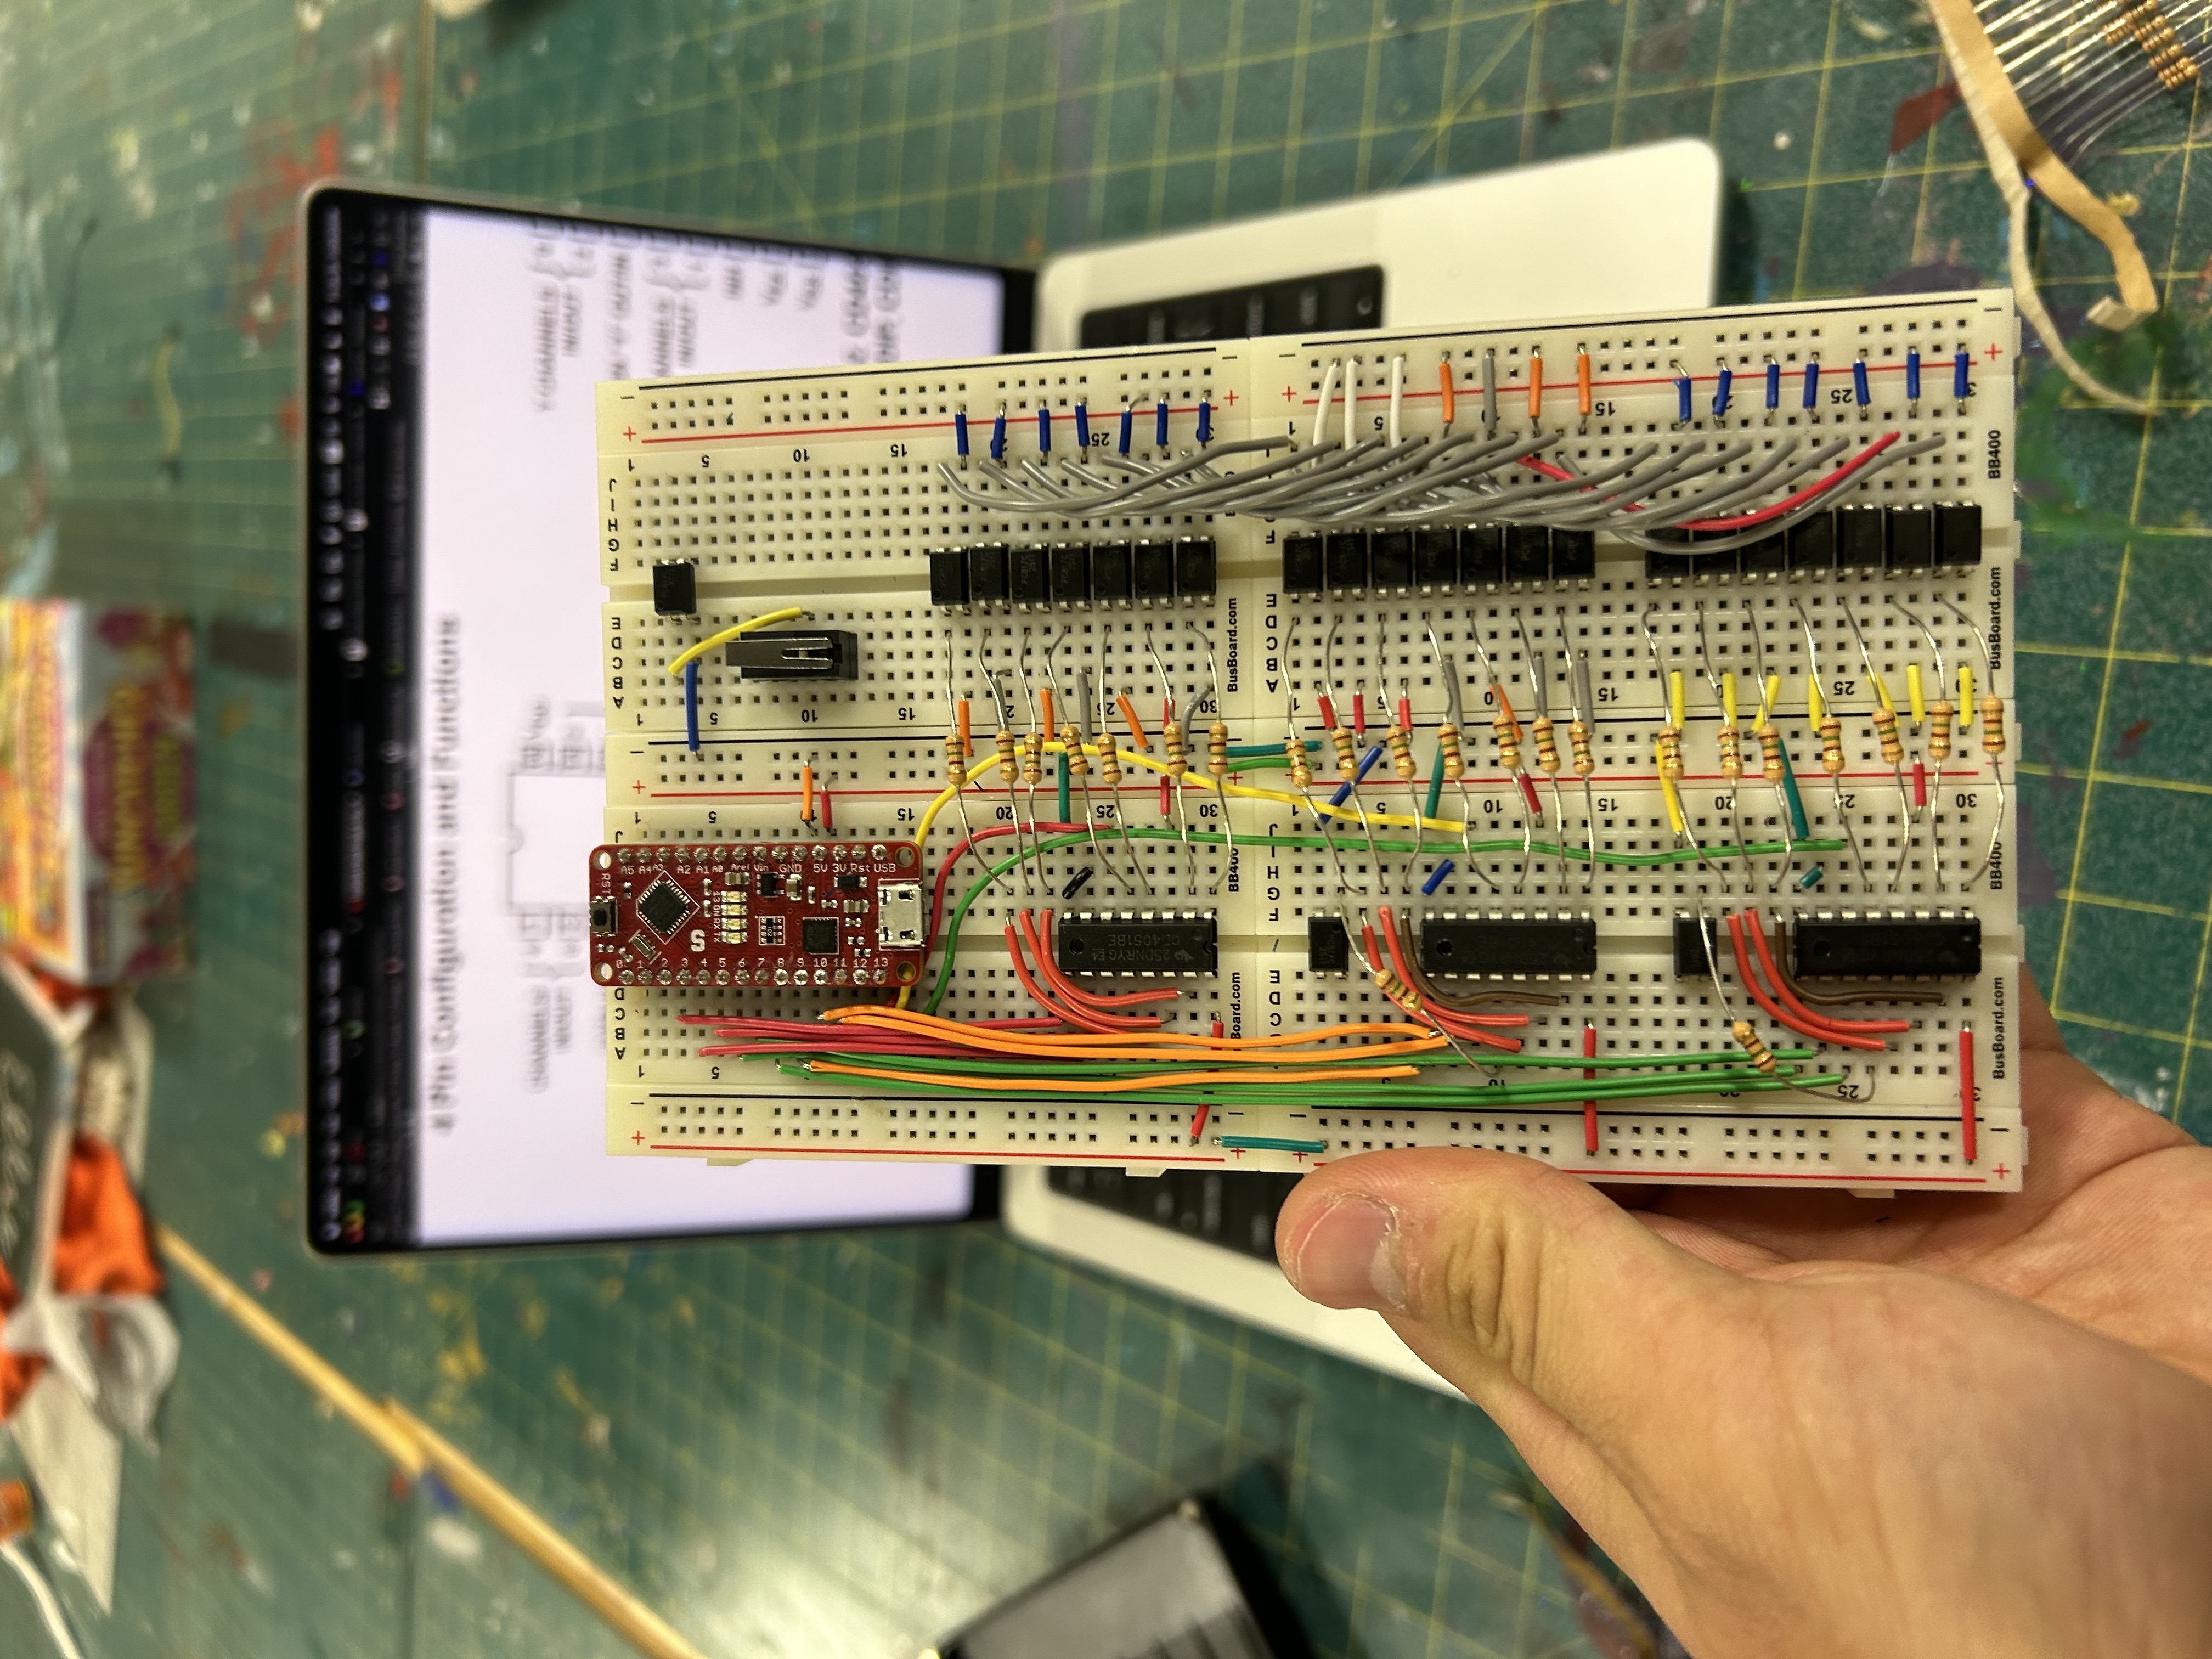
This time correctly wired with the outputs of multiplexers being connected to the anodes of the octocouplers and the collectors of the octocouplers connected to the 3 different shared column pins from the vending machine.
And finally, it seemed to be working!
Afterward, all the pins were wired to a Raspberry Pi 5 so that we could control the vending machine over Wi-Fi.
I decided to reach out to the Interaction Company team (the creators of Poke) to see if they would be interested in helping sponsor some cool prizes for us to put in the vending machine during Treehacks.
They were super excited to help and also wanted to help add some cool Poke-esque gaslighting code to the mix.
With a few fancy posters added, we had the machine up and running at Treehacks, loaded up with Apple devices galore!
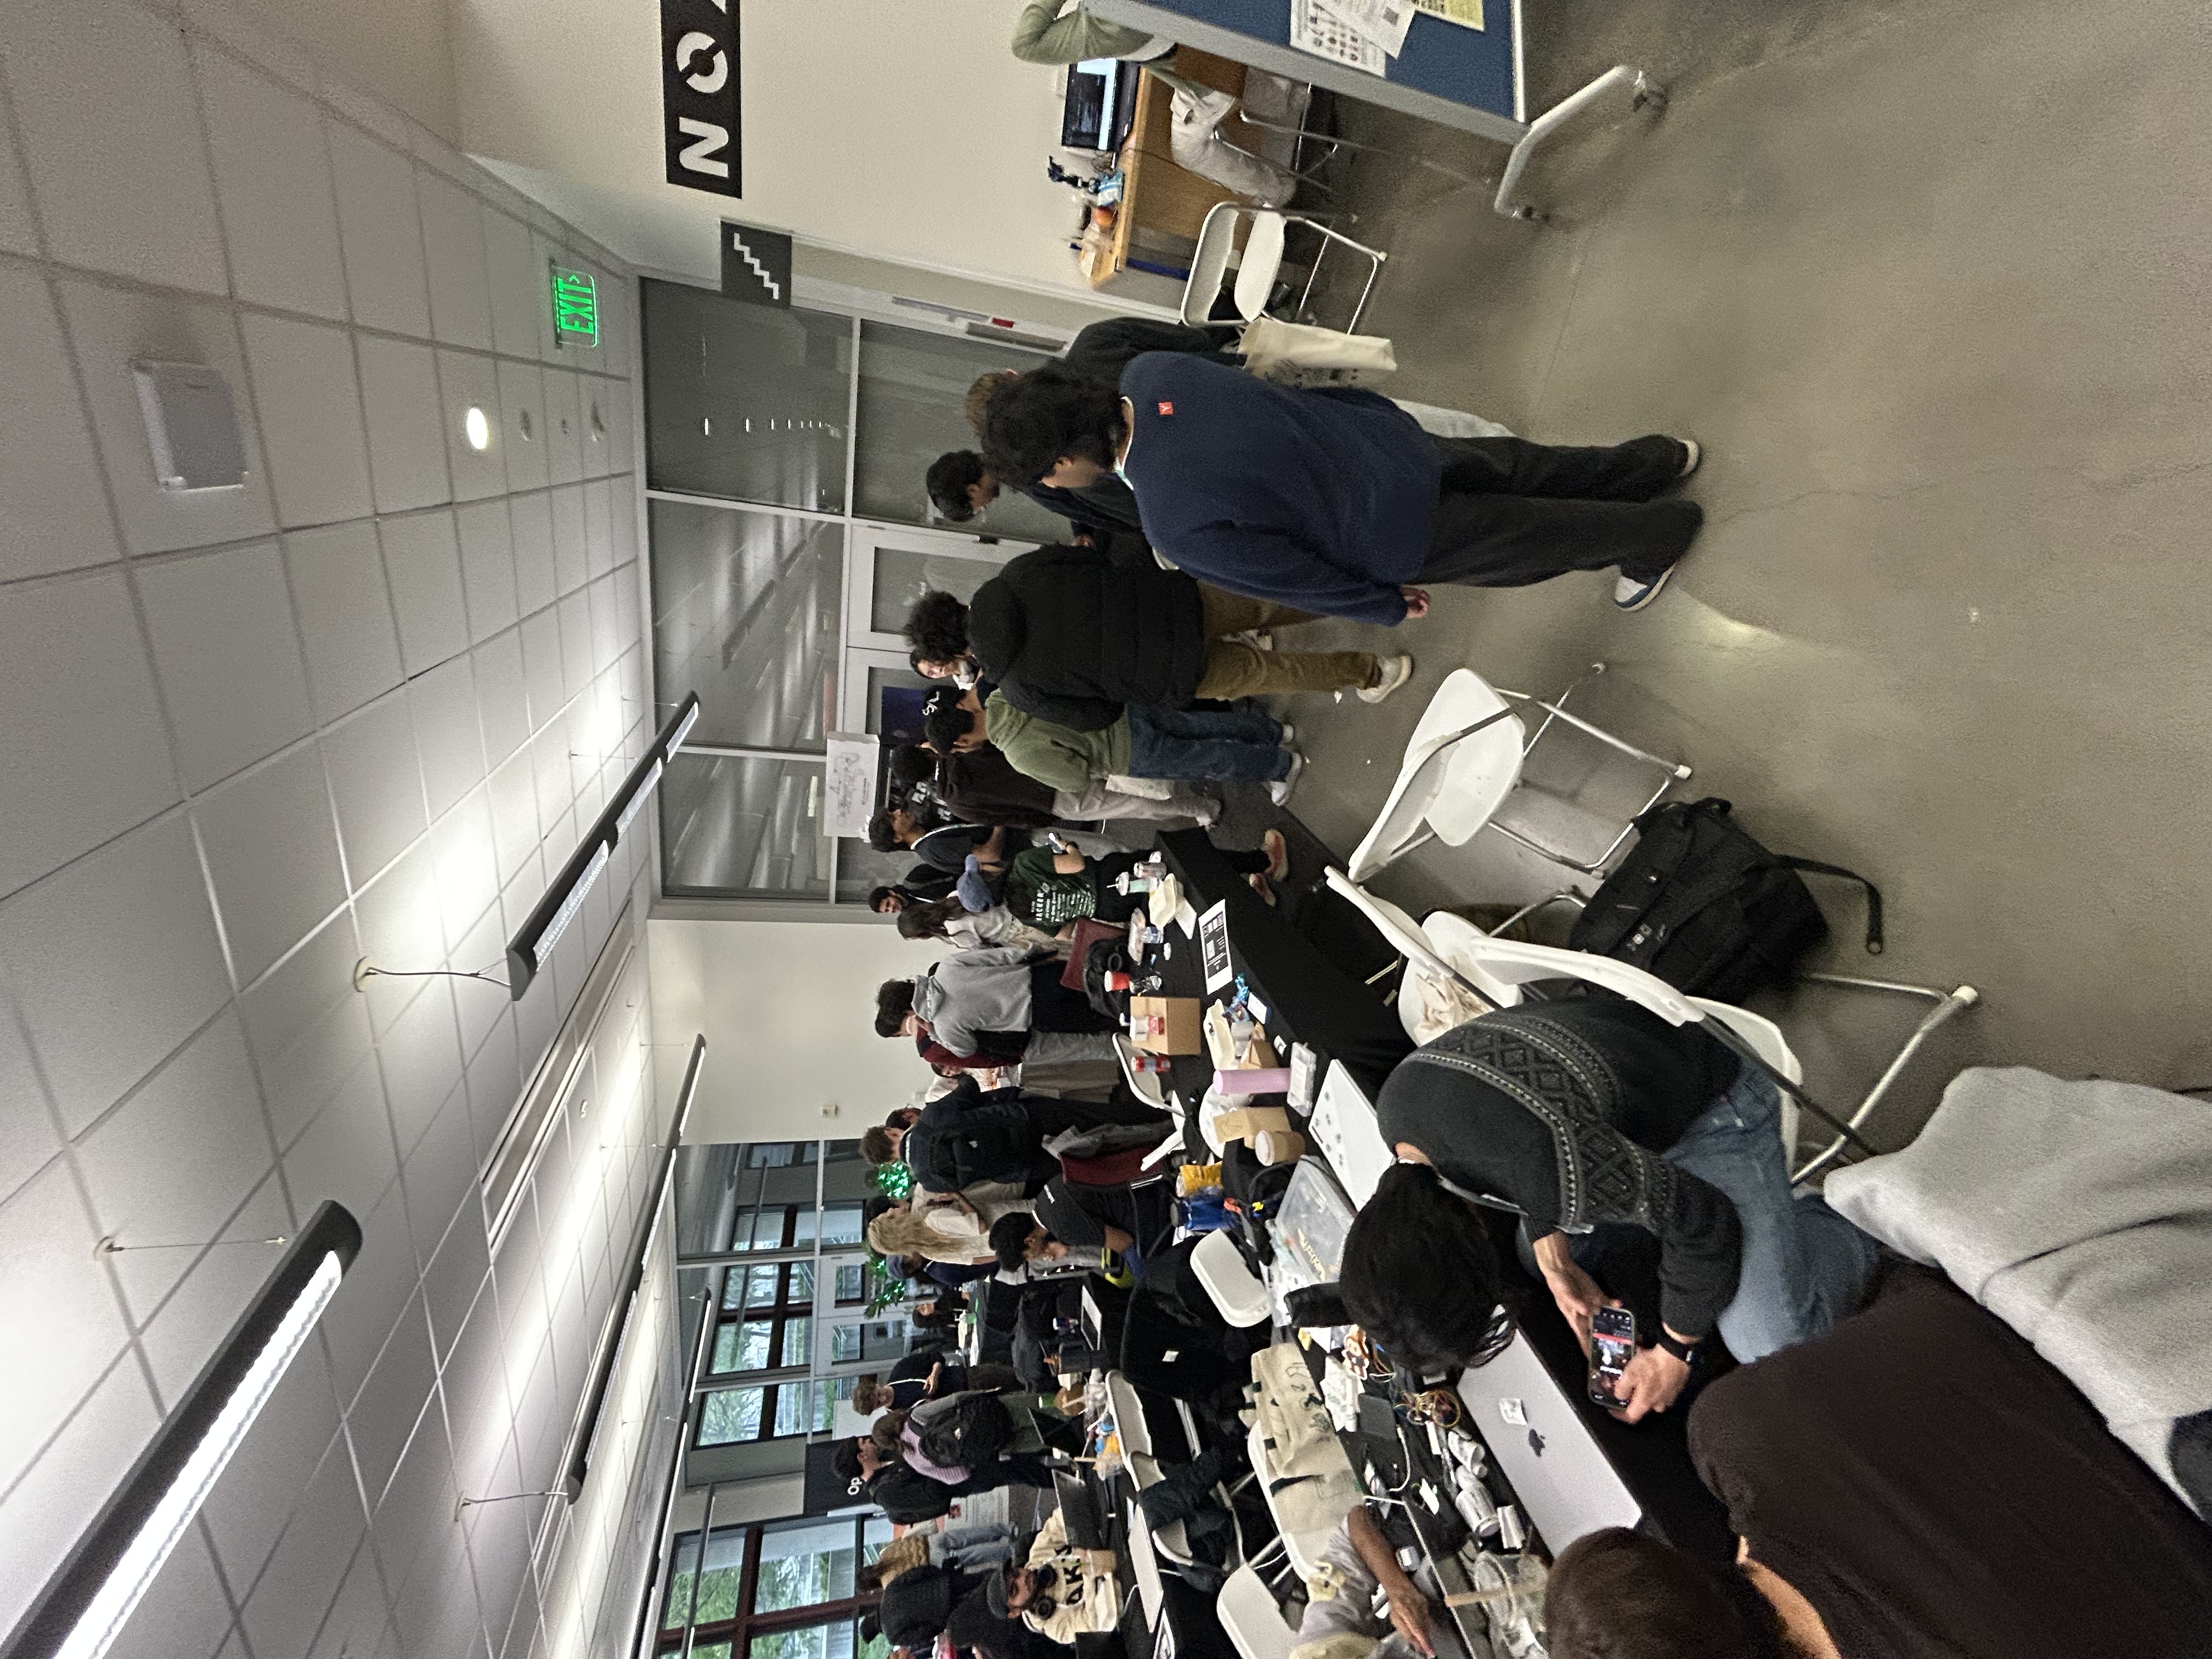
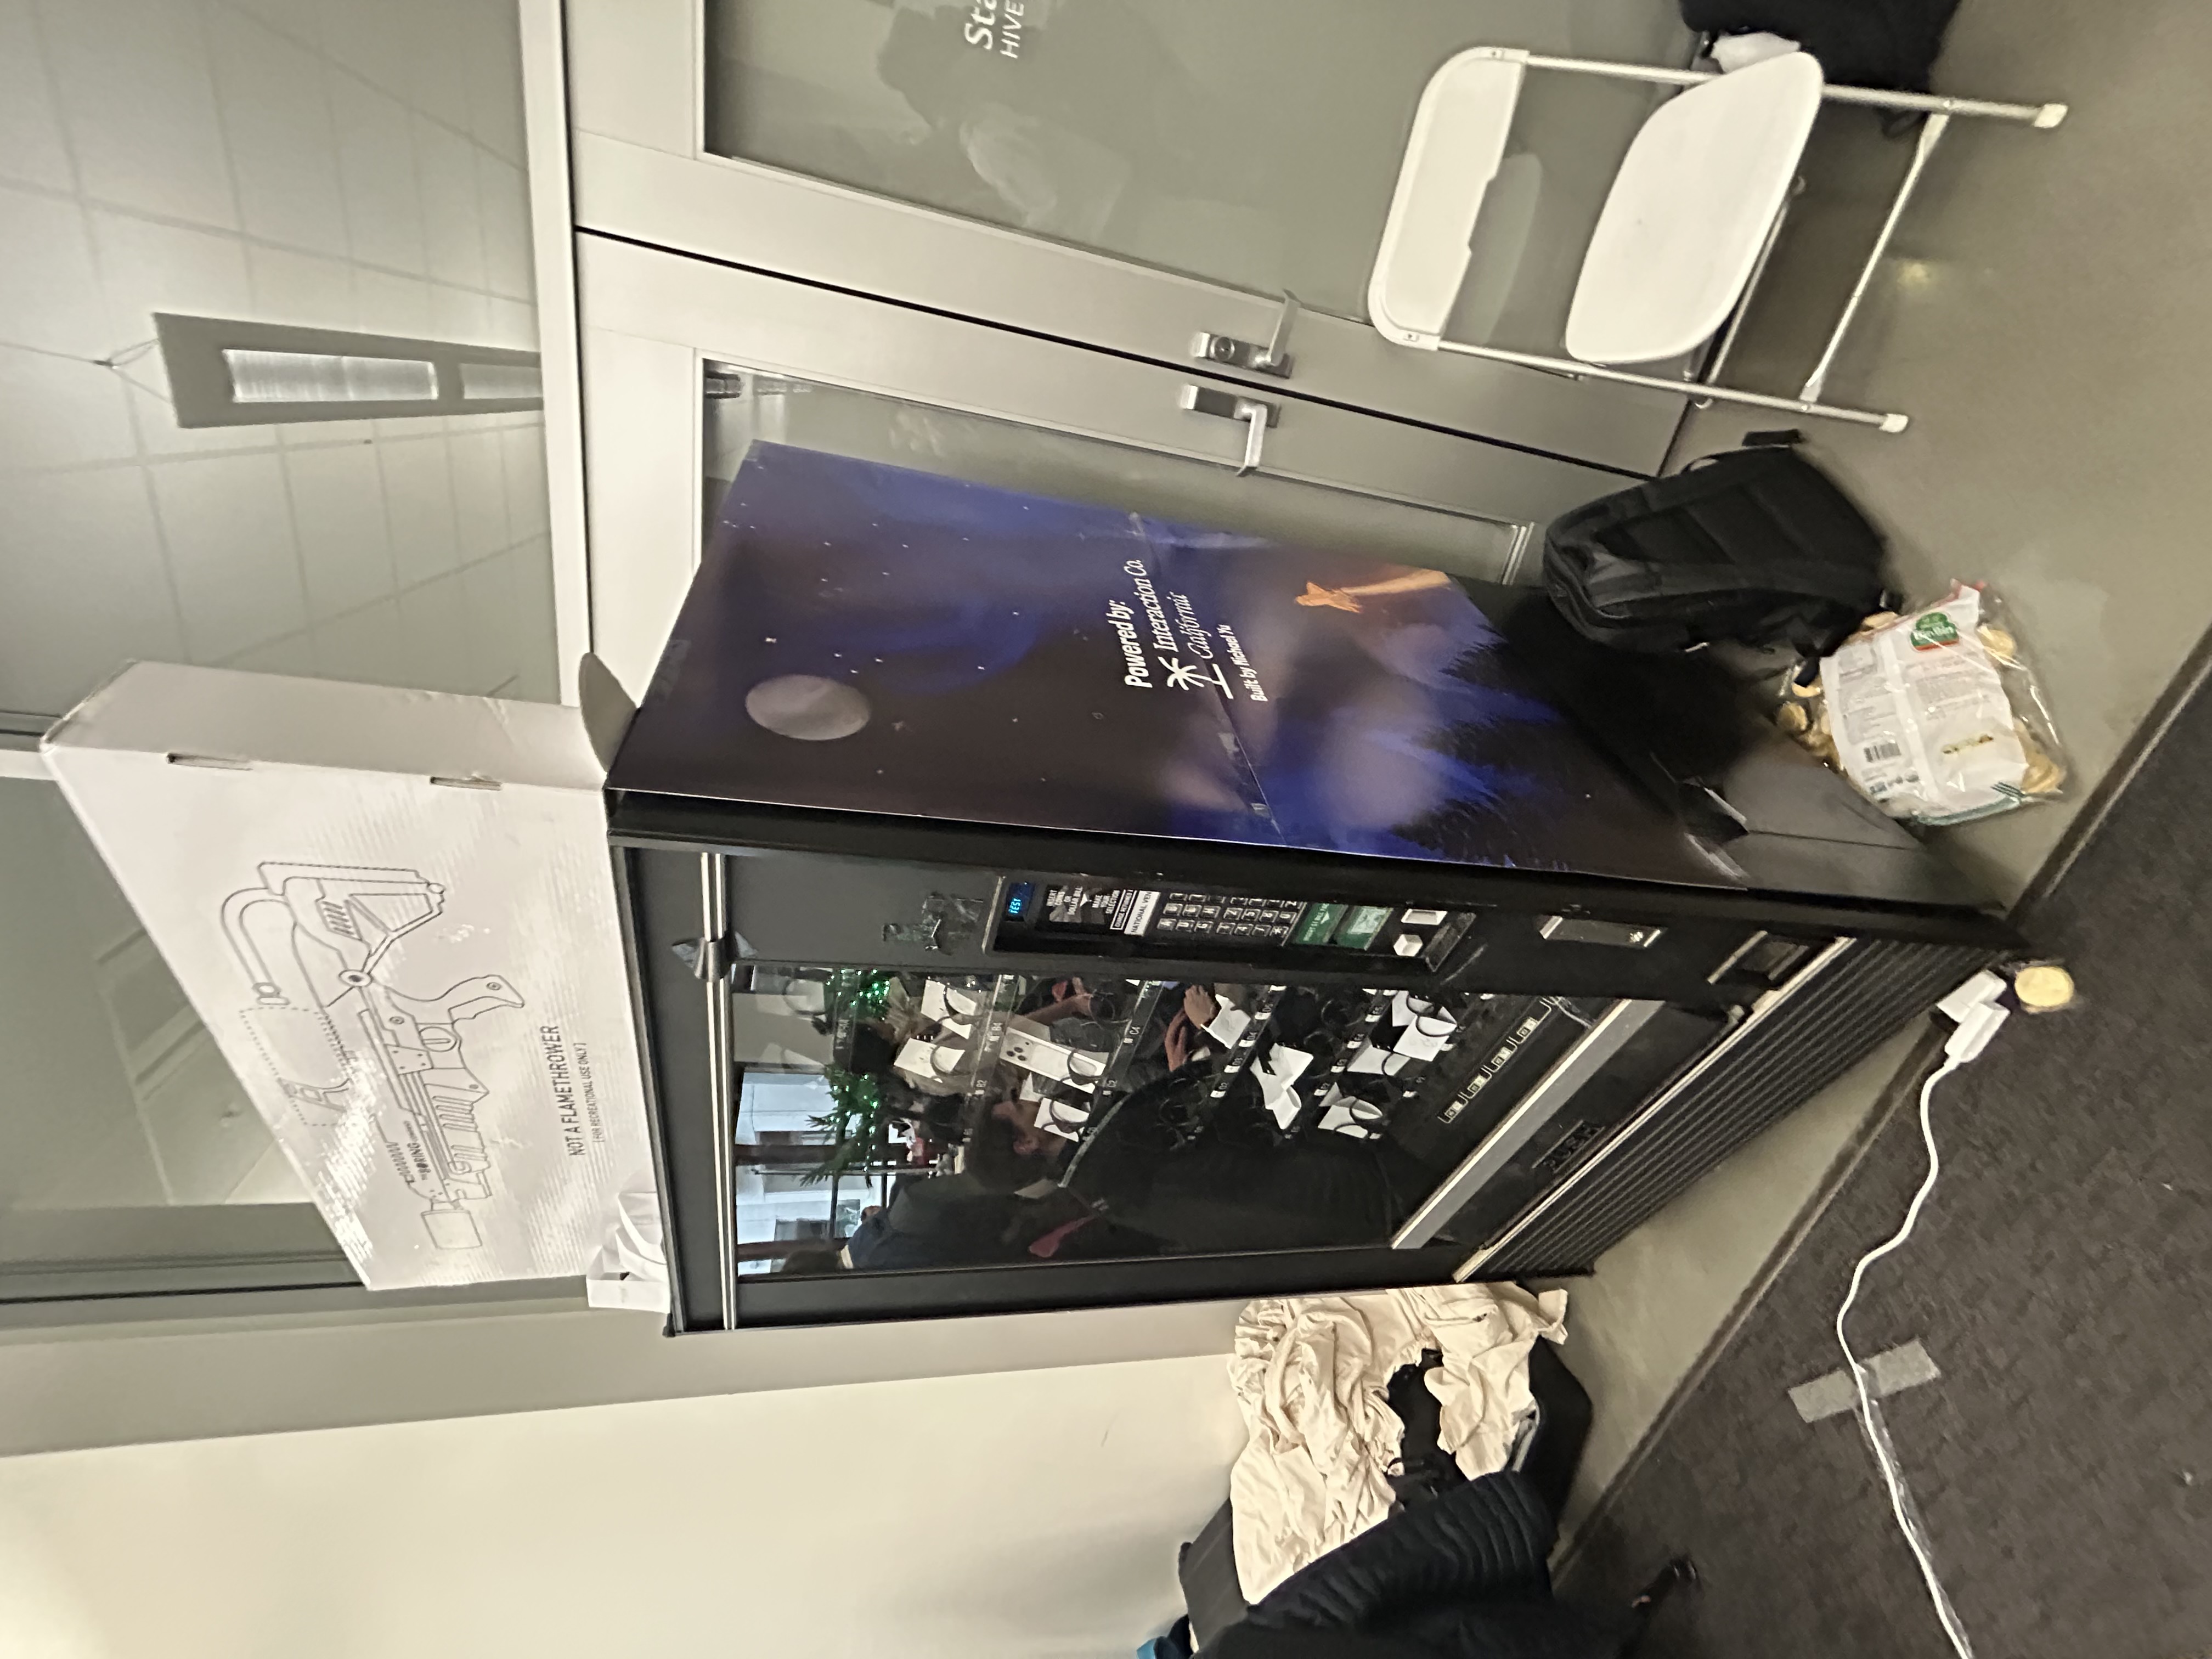
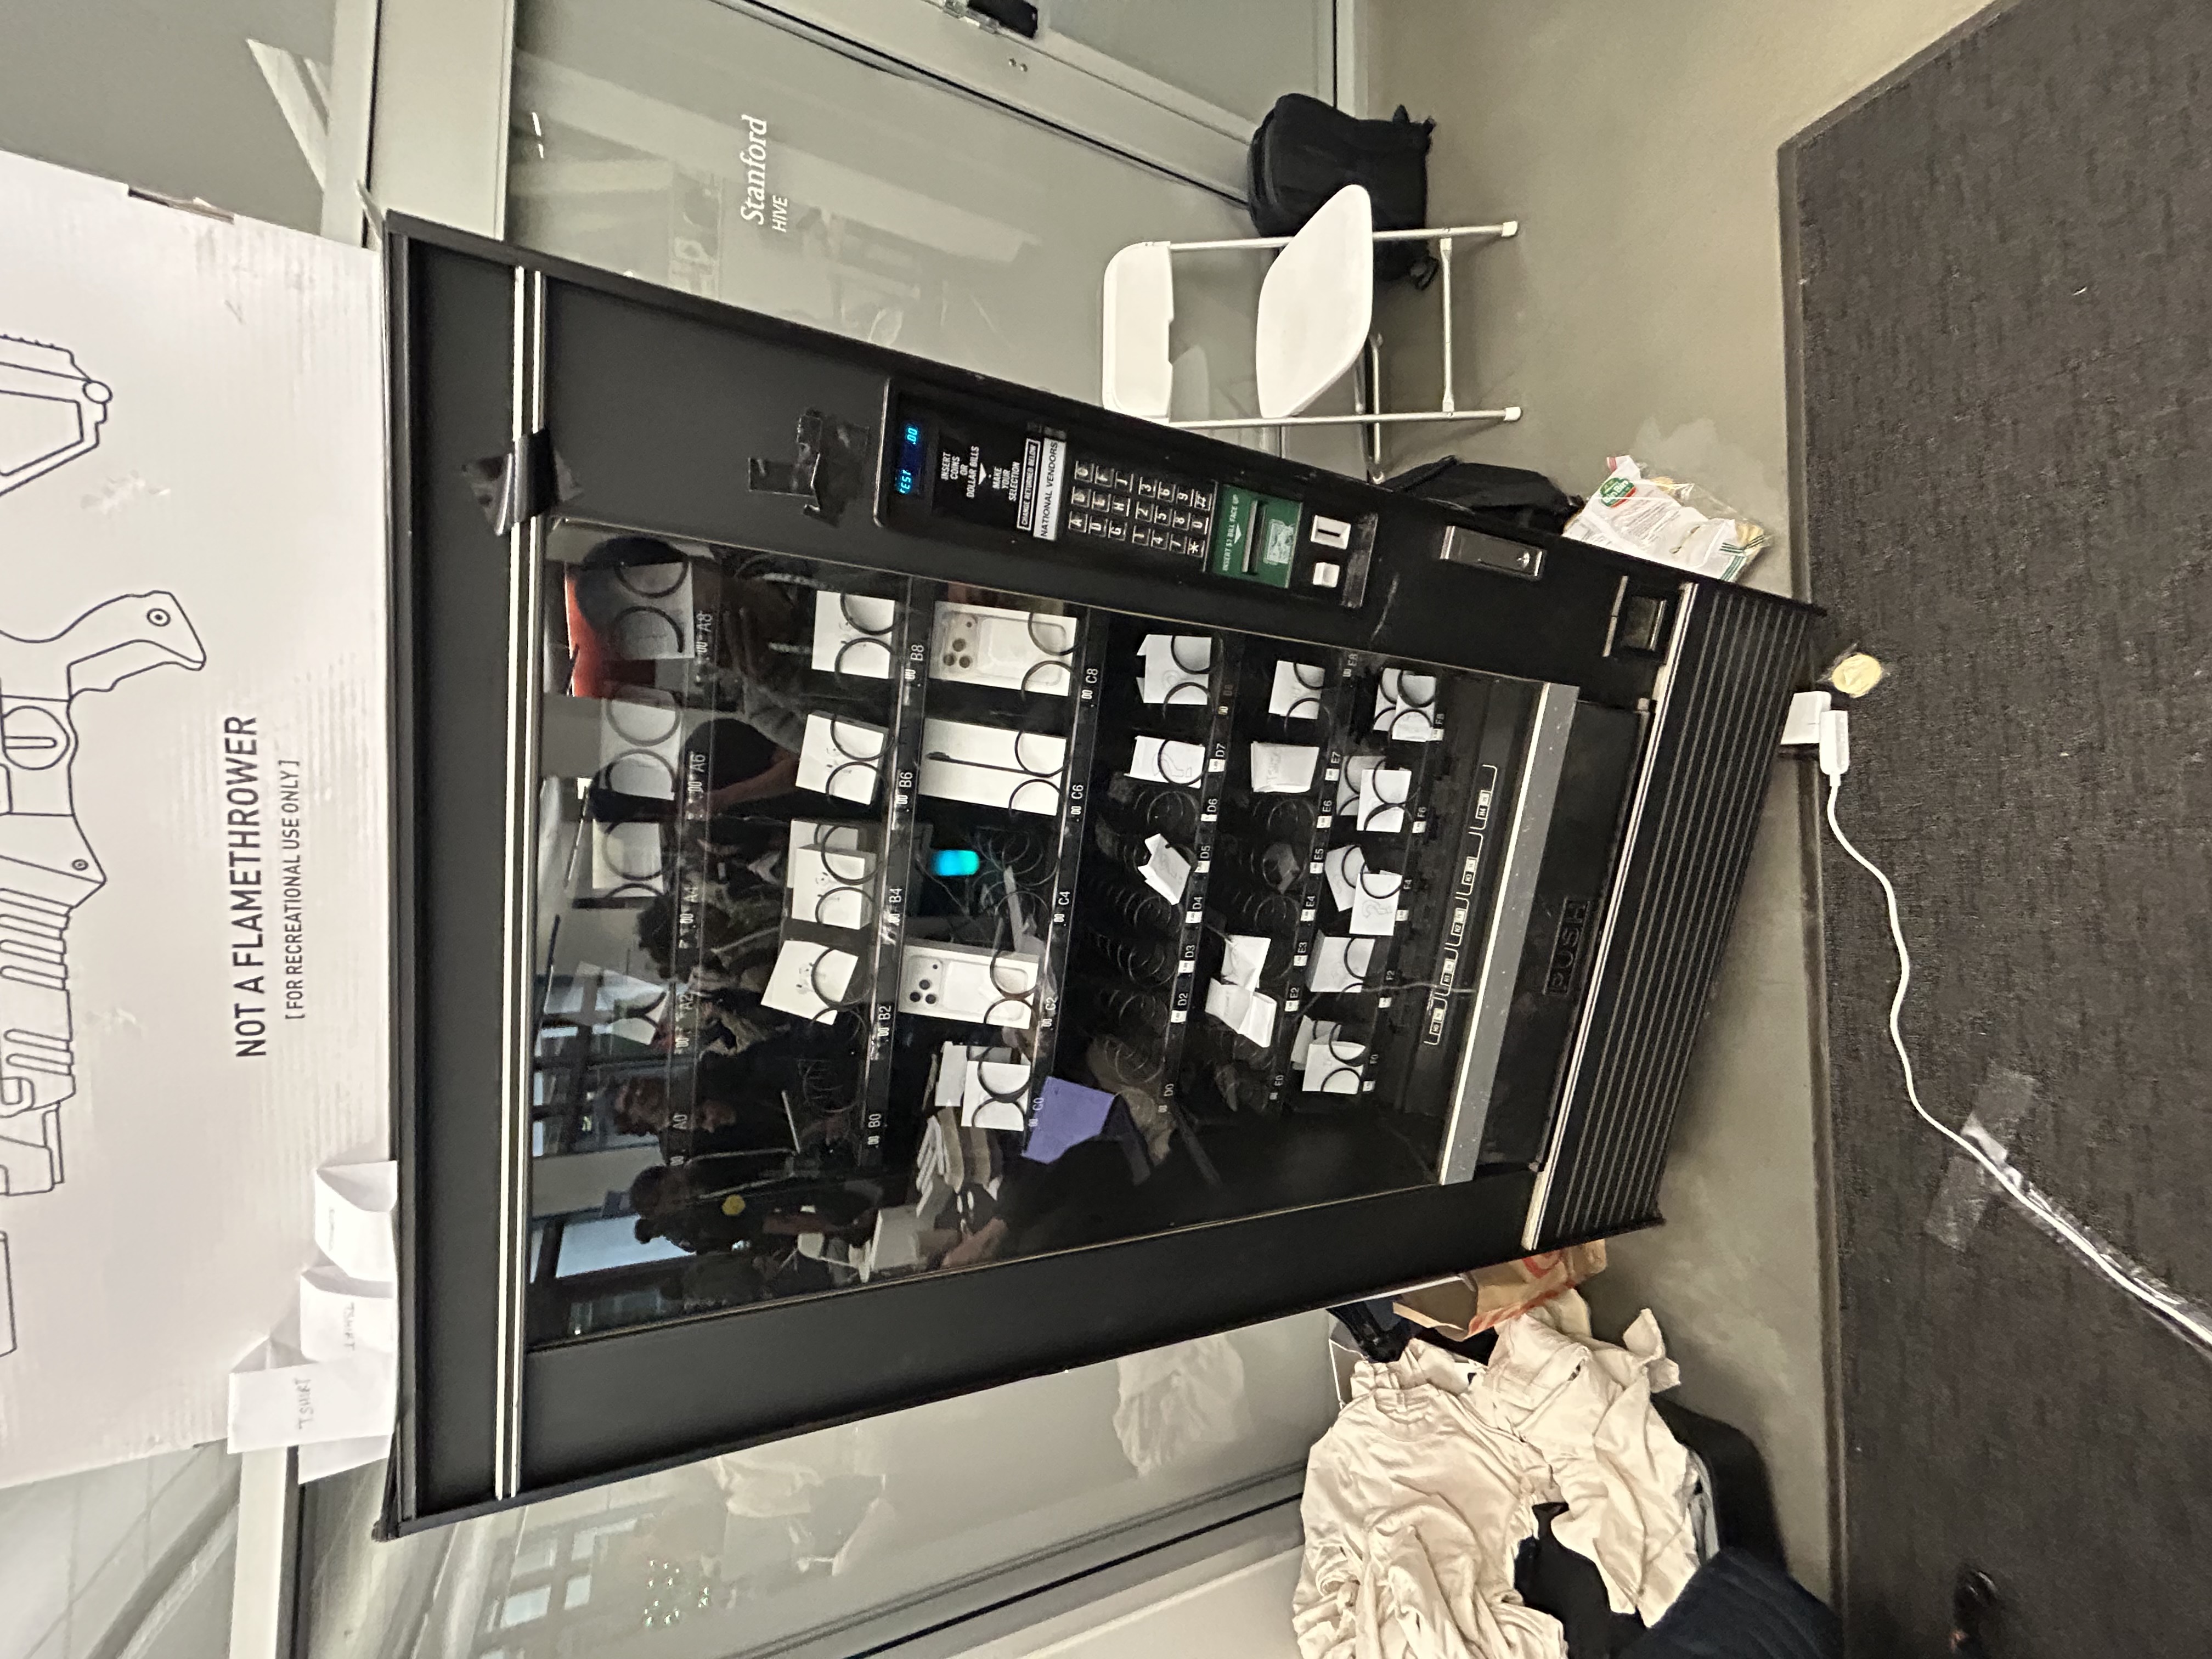
It ended up being a big success with a lot of Poke t-shirts being won, and most of the Apple devices being cleared out too!
I want to shout out the Interaction Company team for being great to work with and for helping sponsor the prizes and the Treehacks leadership team for being super supportive of all the crazy builds and ideas our team got to work on this year!